
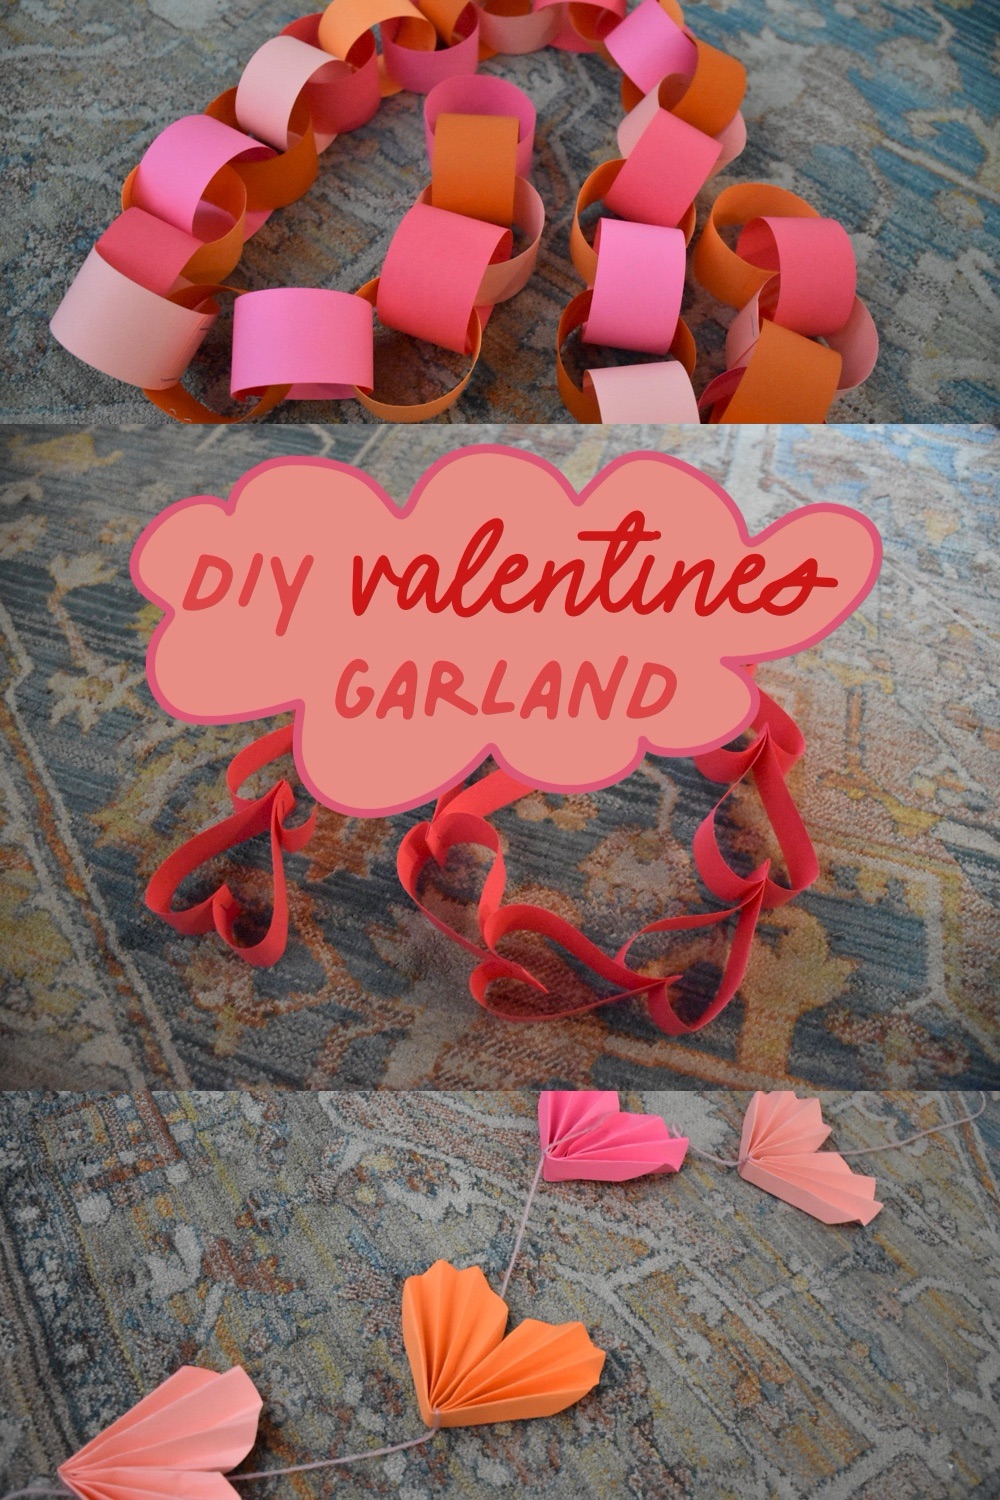
Creating Valentine’s garlands is a fun way to add a festive touch to your party, home decor, Galentines or birthday. These charming decorations can be made using materials you likely already have at home, such as colored paper, string, and scissors. I’ve also linked bellow everything I’ve use. All my cutting tools can be swapped out for scissors. You can also incorporate different textures, like felt or fabric scraps, for added charm. Hang your garland on walls, mantels, or around doorways to bring a cozy and festive Valentine’s vibe to your home. This fun and easy project is perfect for families, friends, or even solo crafters looking to spread love and joy.


Tools/Materials

*Please note this post contains affiliate links that earn commission*
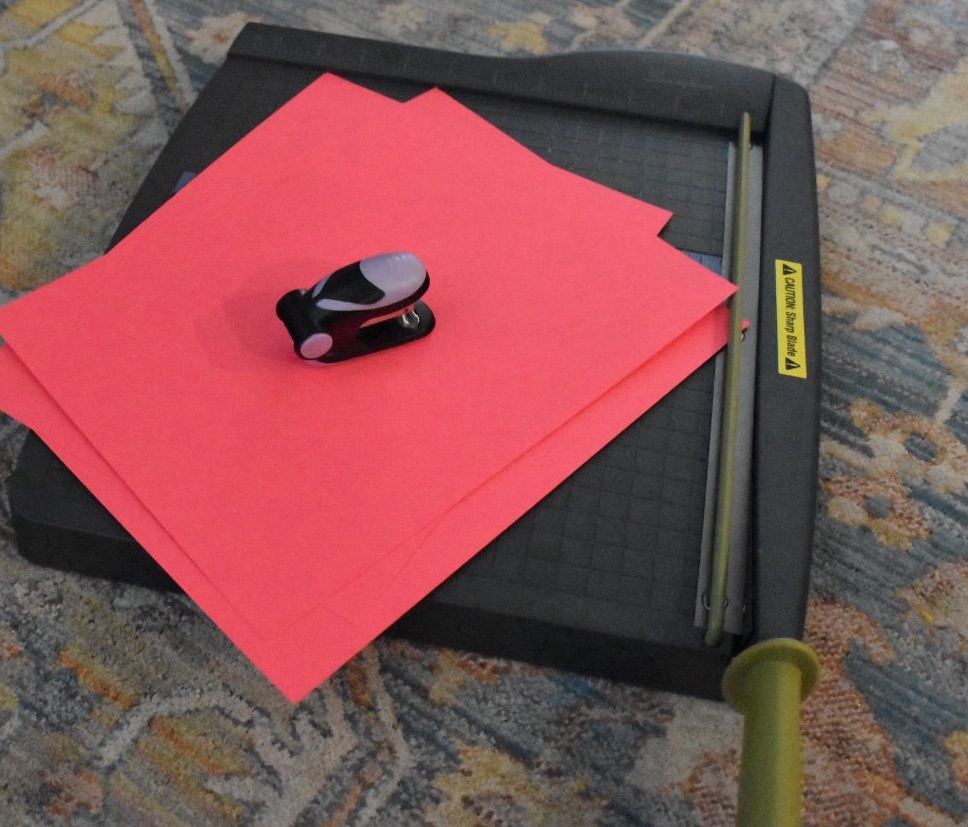
The basics you would need are colored construction paper or cardstock, scissors, either a glue stick, tape, or a stapler. In the link above I’ve put all the tools I used.
Hearts in Line Garland
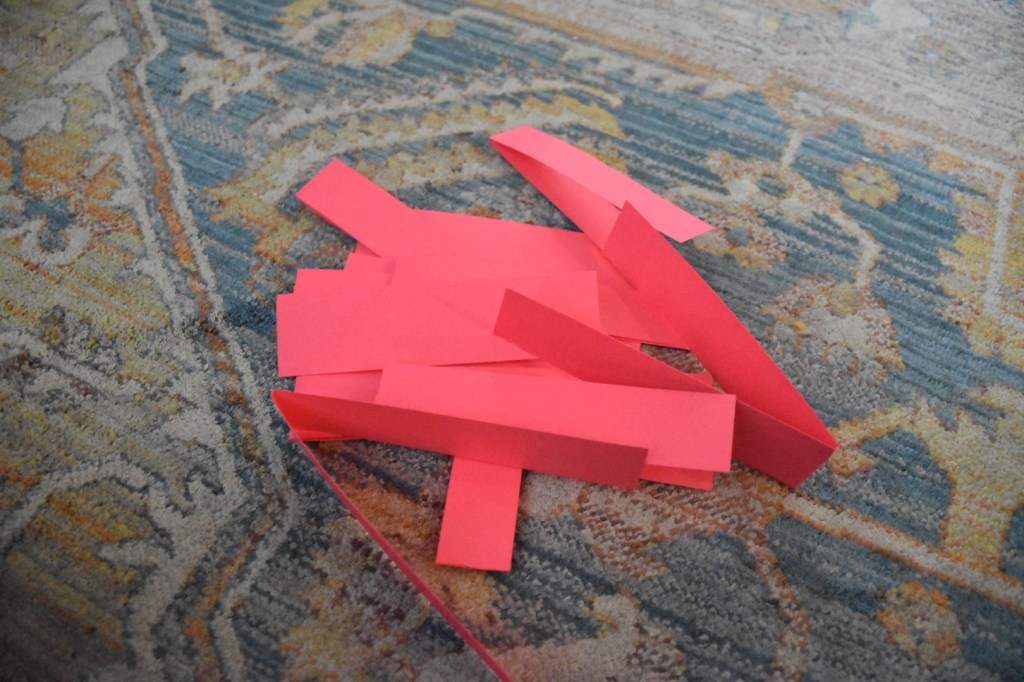
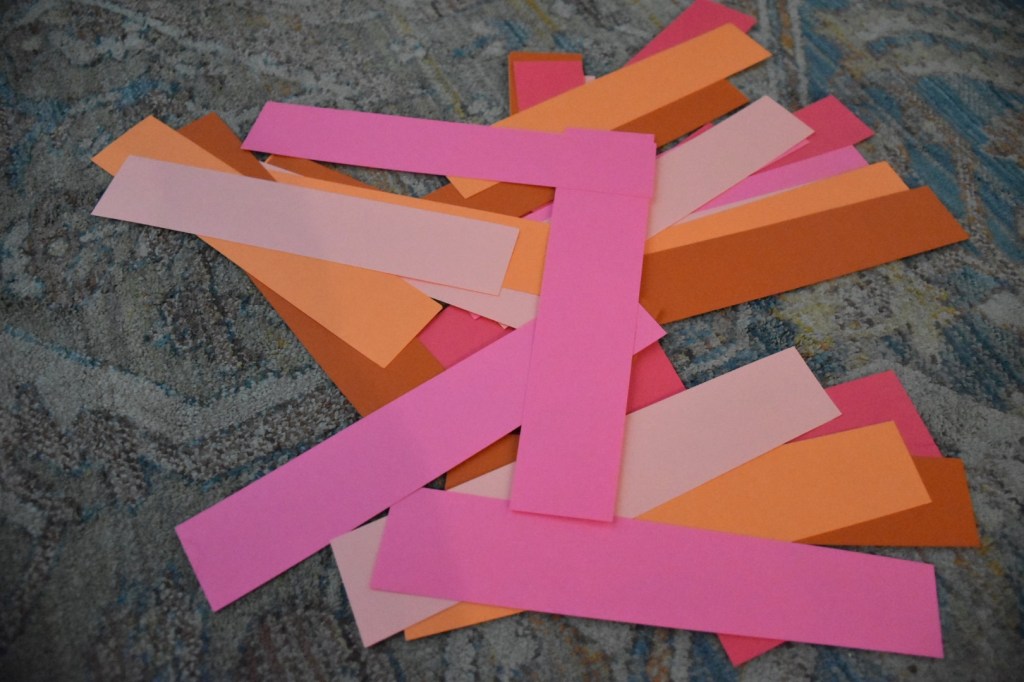
Cut the Strips: Cut the cardstock into strips approximately 1 inch wide and 6–8 inches long. You can adjust the length to make larger or smaller hearts.

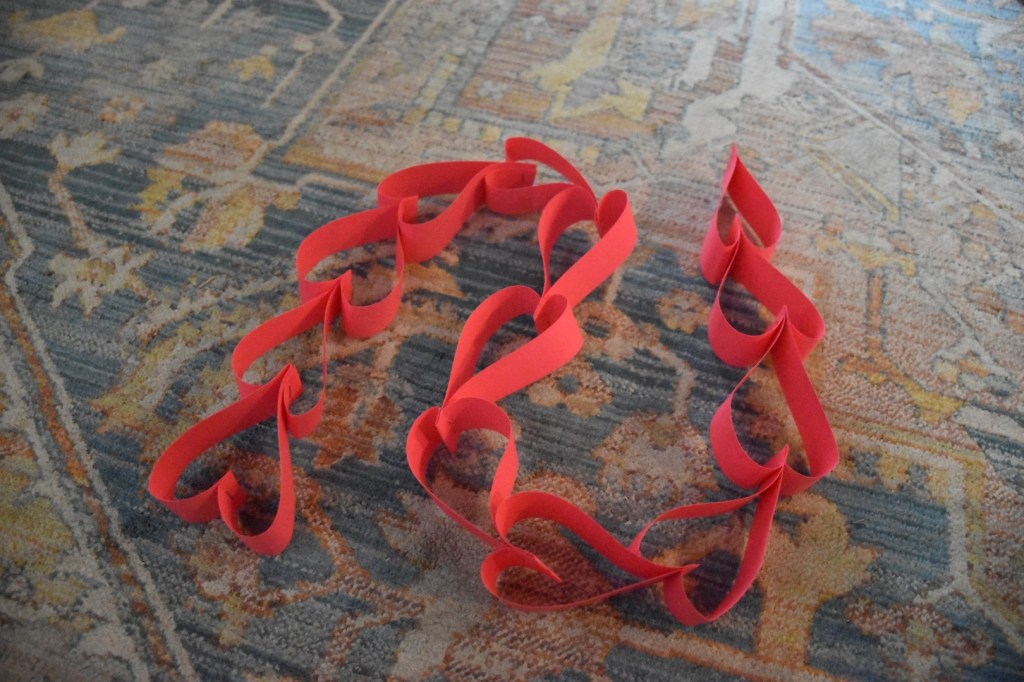
Create the First Heart: I then took all the strips and folded them in half to form a crease. Bring the two loose ends together to create a heart shape, and staple them at the bottom where they meet.
Add the Next Heart: Take another strip and put it in the middle of the tip of the completed heart. Staple together. Now, repeat the process of bringing the ends together to form a new heart. Staple the ends together at the bottom.

Continue the Chain: Repeat the process, adding each new strip to the previous heart before shaping and stapling.
Finish the Garland: Once you’ve made the garland as long as you like, staple the last hearts ends together. Now you can hang it wherever you want a festive touch.
Classic Chain Garland

Prepare the Paper: Cut your paper into strips about 1 inch wide and 6 inches long. You can adjust the size for larger or smaller chains. Use a mix of colors to create a vibrant garland or stick to one color for a classic look.
Create the First Link: Take one strip, curl it into a loop, and secure the ends together using glue, tape, or a staple.
Add More Links: Slide a second strip through the first loop, curl it into a loop, and secure the ends. Repeat this process, linking each strip through the previous one.
Keep Going: Continue adding links until your chain is the desired length.
Display Your Garland: Once complete, hang your garland on walls, around windows, or drape it across furniture for a cheerful decorative touch.
Accordion Heart Garland
Making a heart garland by rounding the sides of paper, folding it accordion-style, and using a stapler is a creative and beautiful project. Here’s how to do it:

Prepare the Paper: I cut the paper in half (hamburger style). You can adjust the length for larger or smaller hearts. Round the edges of each piece of paper by trimming the top corners to create a semi circle on each end.
Fold Accordion-Style: Lay the paper flat and begin folding it back and forth, like a fan, in even sections. Each fold should be about 1/2 inch to 1 inch wide, depending on the look you want. Make sure the folds are crisp.
Form the Heart Shape: Once the paper is fully folded, hold it tightly in the center and fold it in half to form a “V” shape. The folded edge will be the bottom point of the heart.
Secure the Heart: Staple or glue the folded center of the “V” to hold the heart together. Gently pull apart the folded paper to spread it into a fan shape, completing the heart. Adjust the folds to make it even.
Connect the Hearts: Repeat the process for additional hearts. Connect together with a yearn or ribbon, evenly spacing out the hearts and stapling or gluing the string on the back.
Finish and Hang: Continue until your garland is the desired length. Then hang it along a wall, window, or mantel for a festive decoration!


Leave a comment