

Making homemade Cheez-Its for your toddler is a great way to offer a healthier, preservative-free snack packed with real cheese and simple ingredients. These bite-sized crackers are crispy, cheesy, and are baked instead of fried. Making them a lighter alternative to store-bought options. Whether for snack time or on-the-go munching, these toddler-friendly homemade Cheez-Its are sure to be a hit!

*all links are affiliate and earn commission*
Ingredients
- 1 cup shredded cheddar cheese
- 2 tbsp grated Parmesan cheese
- 3/4 cup whole wheat flour
- 1/4 tsp garlic powder (optional)
- 1/4 tsp salt (optional)
- 2 tbsp unsalted butter, cold and cubed
- 2-3 tbsp cold water
Equipment
Caraway Stainless Steel Baking Sheet
Instructions


Preheat your oven to 350°F and line a baking sheet with parchment paper or silicone baking sheet. In a food processor, blend the cheese, flour, garlic powder, and salt. Add the cold butter cubes and pulse until the mixture looks crumbly. Slowly add 2-3 tbsp of cold water, one at a time, and blend until a dough forms. If it’s too dry, add another tbsp of water. I used 3 tbsp of water this time.
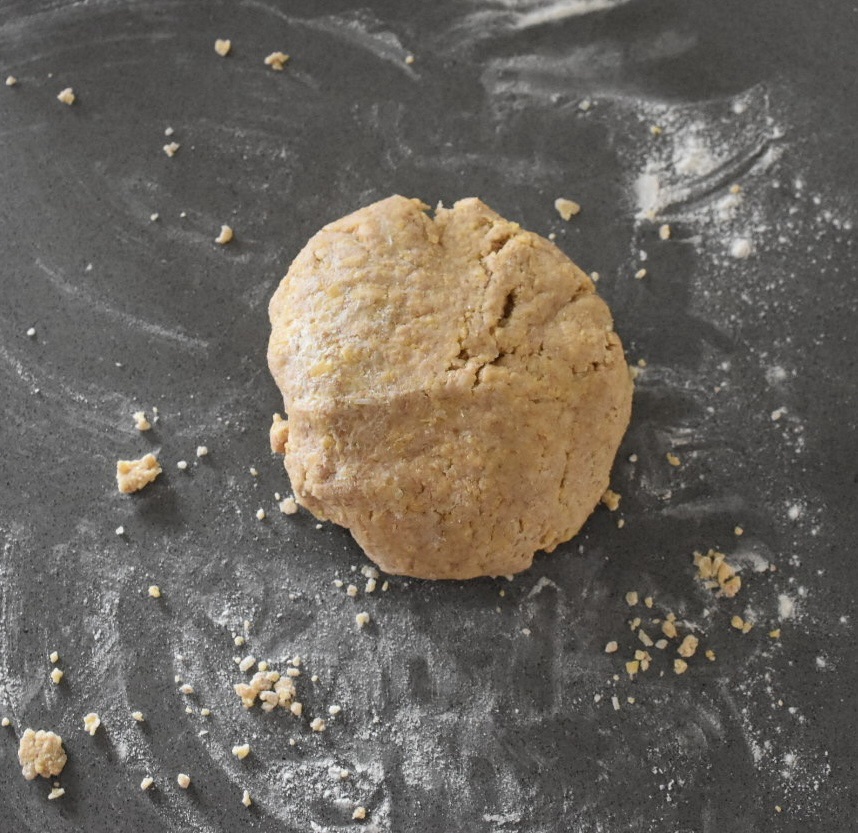
On a floured surface mix dough together with your hands. Kneed until a ball of dough forms.

On a floured surface, using a rolling pin- roll out the dough to about ⅛-inch thickness. If you are having a hard time working with the dough you can roll it out between two pieces of parchment paper.

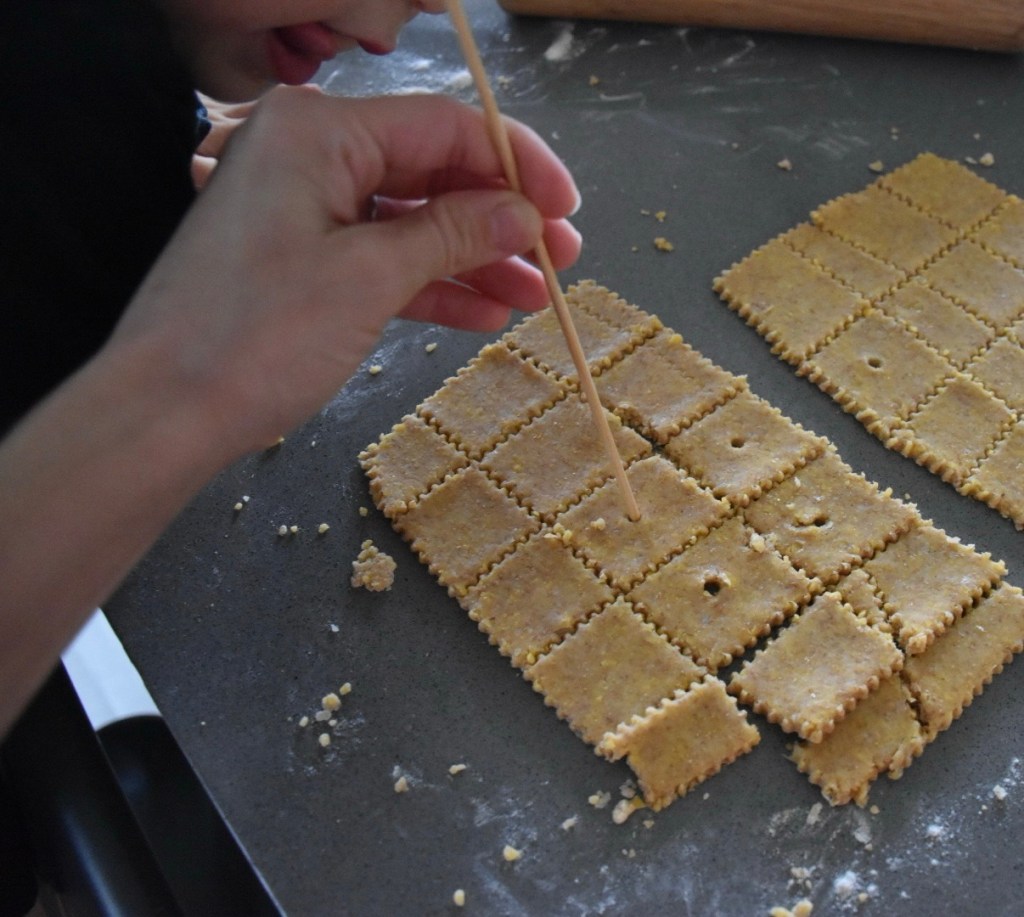
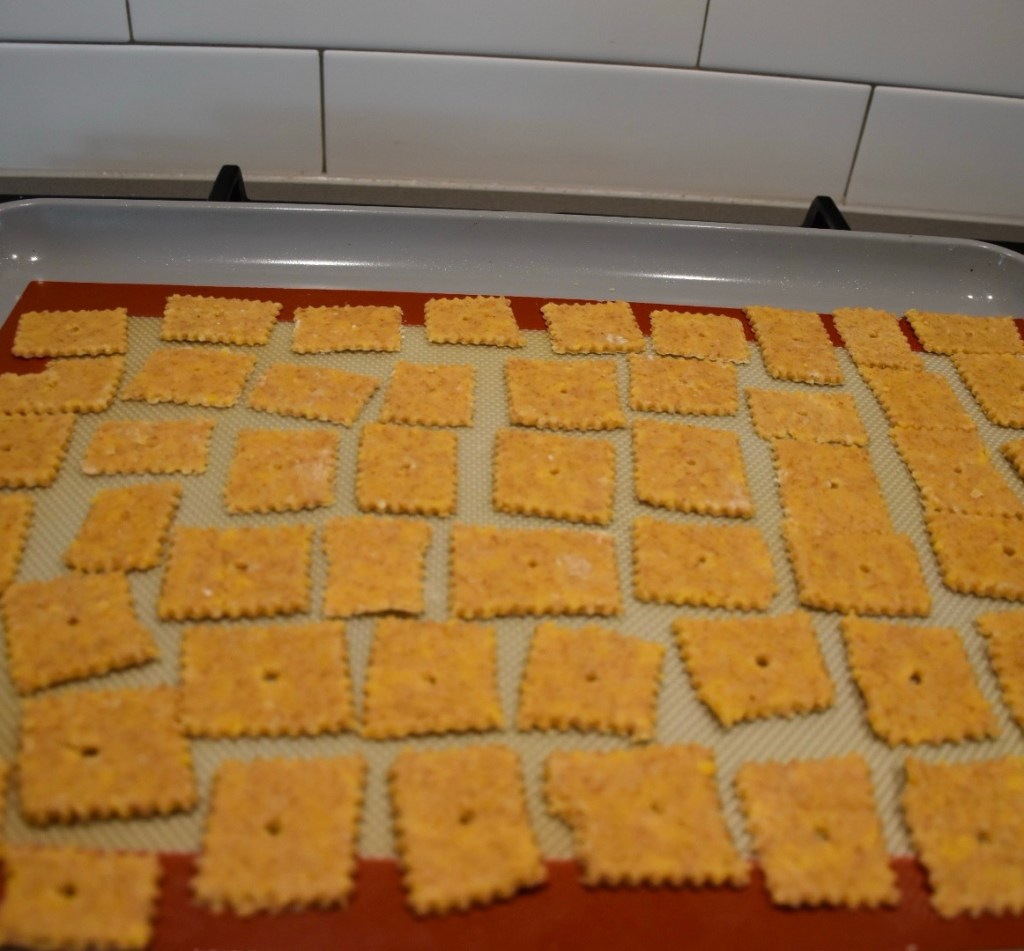
Use a knife, pizza cutter or pastry cutter to cut small squares (about 1-inch) and poke a hole in the center of each with a toothpick for that classic Cheez-It look! Transfer to the baking sheet and bake for 12-15 minutes, or until golden and crisp.

Let them cool completely and enjoy! These will crisp up more as they cool. You can add additional salt to the top as needed for taste, depending on your personal preference.
Store in an airtight container for up to a week at room temperature.
These homemade Cheez-Its are made with real cheese, whole grains, and no preservatives—perfect for a crunchy, flavorful snack that little ones will love!
Recipe


Homemade Cheez-its Crackers
Ingredients:
- 1 cup shredded cheddar cheese
- 2 tbsp grated Parmesan cheese
- 3/4 cup whole wheat flour
- 1/4 tsp garlic powder (optional)
- 1/4 tsp salt (optional)
- 2 tbsp unsalted butter, cold and cubed
- 2-3 tbsp cold water
Instructions:
- Preheat oven to 350°F and line a baking sheet with parchment paper or silicone mat.
- Mix the dough: In a food processor, blend the cheese, flour, garlic powder, and salt. Add the cold butter cubes and pulse until the mixture looks crumbly.
- Form the dough: Slowly add 2-3 tbsp of cold water, one at a time, and blend until a dough forms. If it’s too dry, add another tbsp of water. With your hands kneed the dough until a round ball of dough forms.
- Roll out the dough: On a floured surface roll out the dough to about ⅛-inch thickness.
- Cut into squares: Use a knife, pizza cutter or pastry cutter to cut small squares (about 1-inch) and poke a hole in the center of each with a toothpick for that classic Cheez-It look!
- Bake: Transfer to the baking sheet and bake for 12-15 minutes, or until golden and crisp.
- Cool & serve: Let them cool completely—they will crisp up more as they cool.


Leave a comment