

Simple Ingredients | No Preservatives | Made for Little Hands
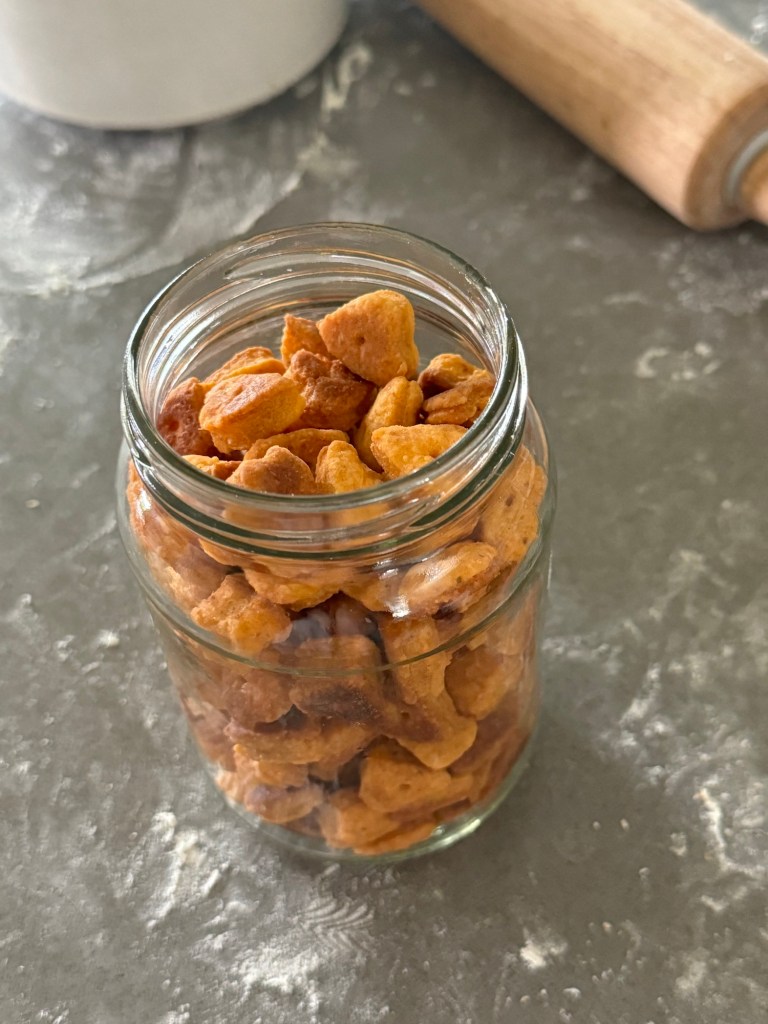
There’s something deeply satisfying about making your own snacks—especially when they’re as simple and toddler-friendly as these homemade cheese crackers. They’re buttery, cheesy, and crisp, with no artificial ingredients, preservatives, or mystery flavors. Just real food your little one can hold, munch, and enjoy.
Made with just a few pantry staples, these crackers come together quickly in a food processor and bake into golden, crunchy bites that taste even better than the boxed version. They’re perfect for snack time, lunchboxes, or as a fun kitchen activity to make with your toddler.
*all links are affiliate and earn commission*
Ingredients
- 1 cup shredded (finely) cheddar cheese (mild or sharp, depending on toddler’s taste)
- 1/2 cup all-purpose flour
- 1/2 cup whole wheat flour (if you don’t have, or don’t want that whole grain taste switch out for all-purpose flour making the total 1 cup)
- 1 tsp salt
- 1 tsp cane sugar (can use granulated sugar as well-optional)
- 1 tsp baking powder
- 1/2 tsp onion powder
- 1/2 tsp garlic powder
- 1/2 tsp paprika
- 2 tbsp cold unsalted butter (cut into cubes)
- 1/4 cup of cold water
Equipment
Caraway Stainless Steel Baking Sheet
Mini heart shaped cookie cutter
Instructions

Use a grater or food processor grating attachment to shred your cheddar cheese as finely as possible. This helps it blend evenly into the dough and melt beautifully during baking. You want the cheese to almost disappear into the flour as it bakes—creating that crisp, savory bite toddlers love.
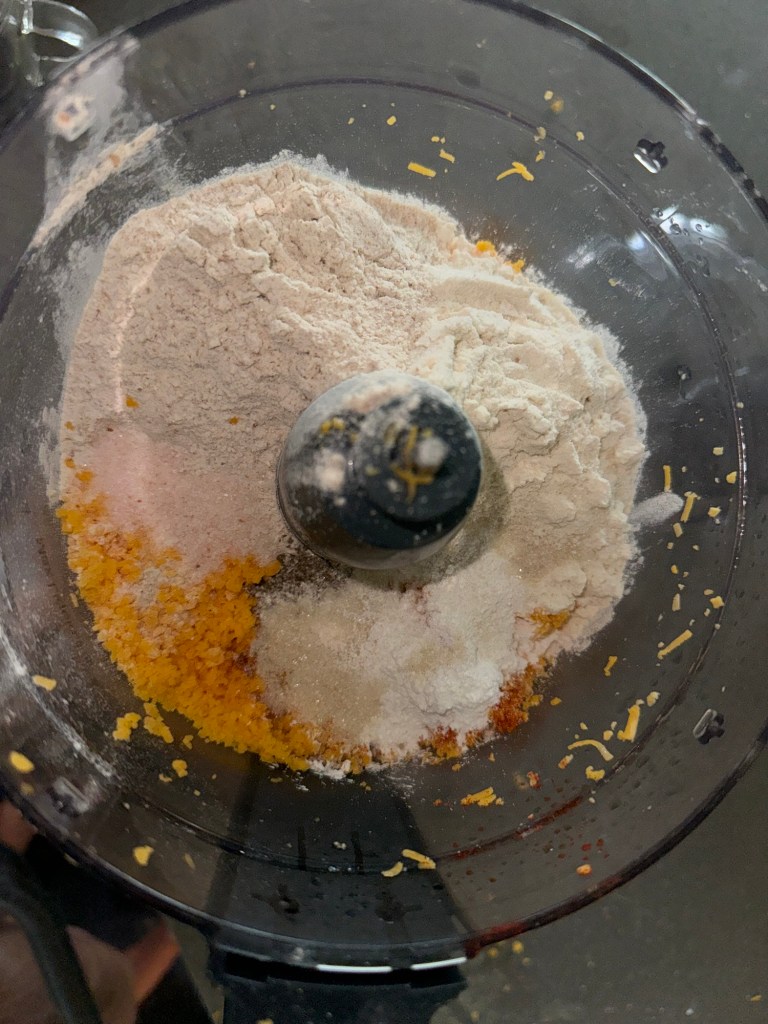
Add the shredded cheese to a Food Processor and pulse a few times to break it down even further. Then, add the flour, salt, baking powder and any spices you’d like, I’ve listed in the ingredients what we use. Pulse until the mixture looks evenly combined.
Next, add the cold butter cubes and cold water. Typically 1/4 cup gives us the right consistency but you can add more if needed. Pulse again just until the dough starts to look crumbly and damp, like coarse wet sand.
Turn the crumbly dough out onto a lightly floured surface. Use your hands to gently knead and press the mixture together. It may feel crumbly at first, but with a little pressure and warmth from your hands, it should form a smooth dough. At this point if your dough is too sticky add a little more flour; if too dry, add a tsp of water at a time.

Divide the dough into two equal parts, shape each into a disc, wrap in plastic wrap or beeswax wrap, and refrigerate for at least 1 hour. This rest time helps the butter firm back up and makes the dough easier to roll out without sticking or tearing.
When you’re ready to bake, preheat your oven to 350°F (175°C) and line a baking sheet with parchment paper or a Silicone baking mat. I like using our Large Caraway Baking Sheet because I don’t need to line it with anything, it’s naturally nonstick and nontoxic. Pull one dough disc from the fridge and leave the other in until you’re ready to roll it.


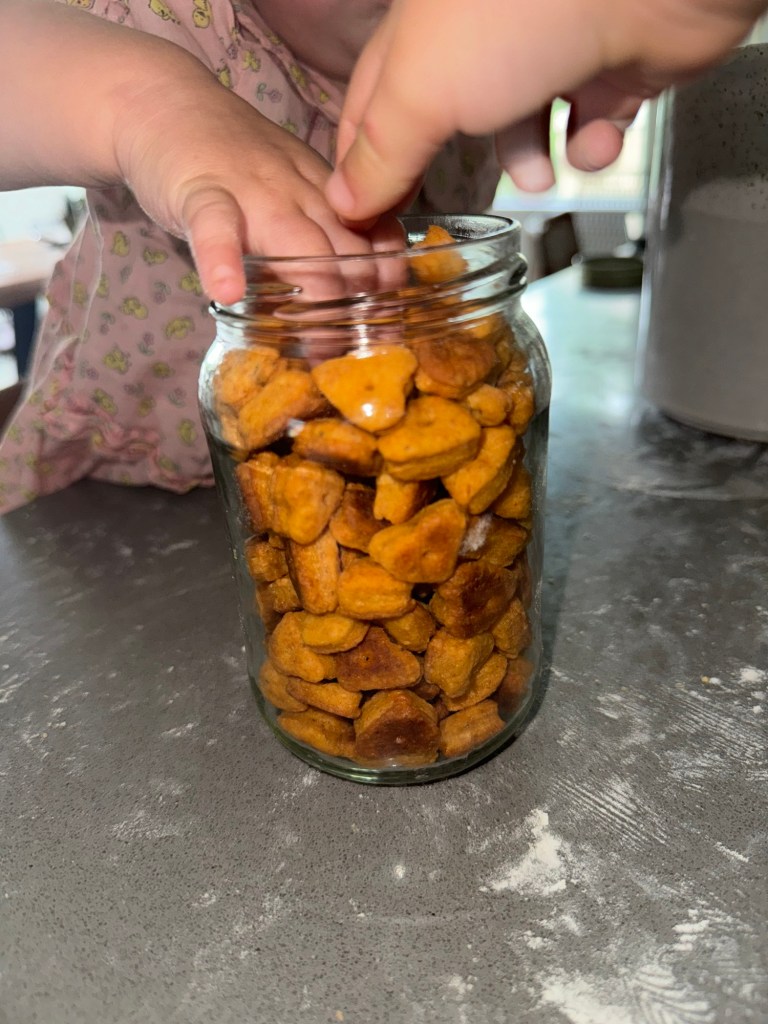
On a lightly floured surface, roll the dough out to about ⅛-inch thickness—thin enough to crisp, but thick enough to hold together in little toddler hands. Use a small cookie cutter (I used this Mini heart shaped cookie cutter) or just slice into bite-sized squares with a knife or pastry cutter. These crackers definitely give a gold fish vibe so you can use this cutter as well. Re-roll any scraps and keep cutting until all the dough is used.

Optional: Use a skewer or toothpick to poke a tiny hole in the center of each cracker to help them bake evenly and give that “store-bought” look.
If you’d like, sprinkle a few of the crackers with flaky sea salt before baking—just a light dusting is enough to bring out the flavor without being too salty for little ones.

Place the cut crackers on your prepared baking sheet and bake for 12–15 minutes, or until the edges are just beginning to turn golden. For a crispier result, you can bake an extra minute or two, but keep a close eye—they can go from golden to too dark quickly.

Let the crackers cool completely on the baking sheet or a wire rack. They’ll continue to crisp up as they cool. Store in an airtight container for up to 5 days at room temperature, or freeze for longer shelf life.
Recipe
Homemade Cheesy Crackers
Ingredients:
- 1 cup shredded (finely) cheddar cheese (mild or sharp, depending on toddler’s taste)
- 1/2 cup all-purpose flour
- 1/2 cup whole wheat flour (if you don’t have, or don’t want that whole grain taste switch out for all-purpose flour making the total 1 cup)
- 1 tsp salt
- 1 tsp cane sugar (can use granulated sugar as well-optional)
- 1 tsp baking powder
- 1/2 tsp onion powder
- 1/2 tsp garlic powder
- 1/2 tsp paprika
- 2 tbsp cold unsalted butter (cut into cubes)
- 1/4 cup of cold water
Instructions:
- In a food processor, pulse finely grated cheese a few times. Add flour and all the spices until mixed together evenly.
- Add butter and cold water and pulse a little longer.
- On a floured work surface knead the mixture with your hands until a dough forms. If its too crumbly you can add a little water.
- Divide dough in half, cover and refrigerate for about 1 hour.
- Preheat oven to 350°F. Line baking sheet with parchment.
- Roll dough to ⅛” thickness. Cut into small shapes. Re-roll any dough scrapes. You can add a hole in the middle of your shape for even baking (optional). Place on parchment sheet, sprinkle with salt (we love flaky salt for this) if you would like.
- Bake for 12–15 minutes, until lightly golden at the edges.
- Let cool and enjoy!
Tips for Toddlers
- Use mild cheddar instead of a sharp cheddar for sensitive toddler taste buds.
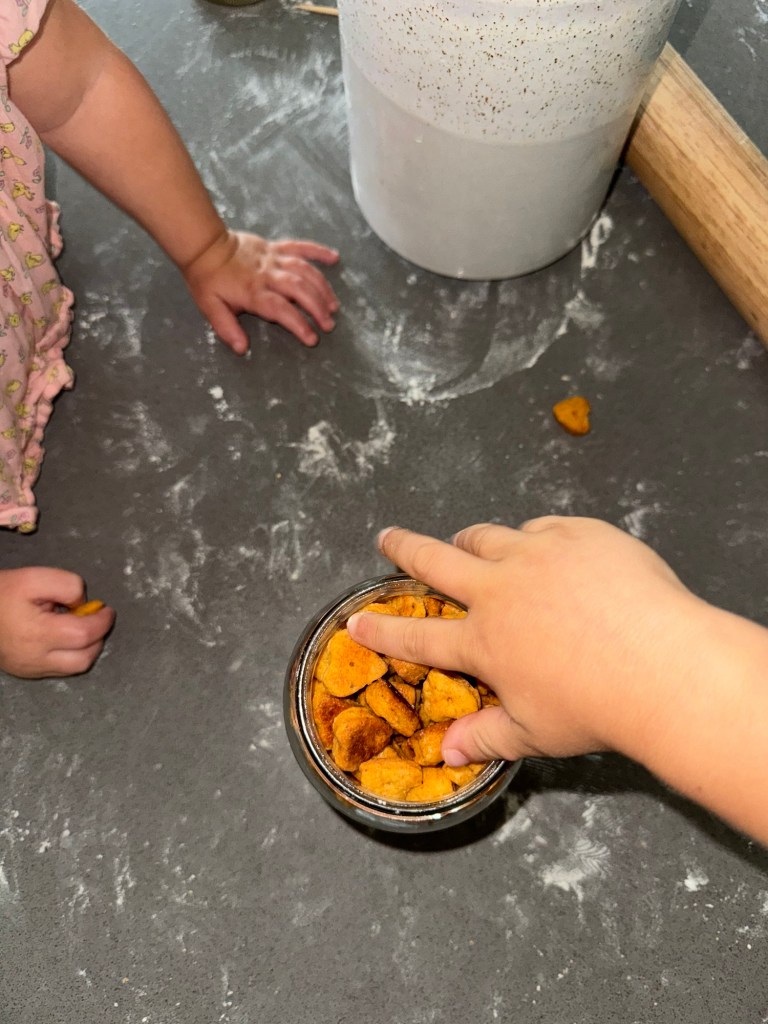
- Let your toddler help cut out shapes—it’s a great sensory activity!
- All the seasonings including the sugar and salt are technically optional so leave out or include what you want for your family.
- Depending on shape of cracker and age of child, beware of potential choking hazards.


Leave a comment