

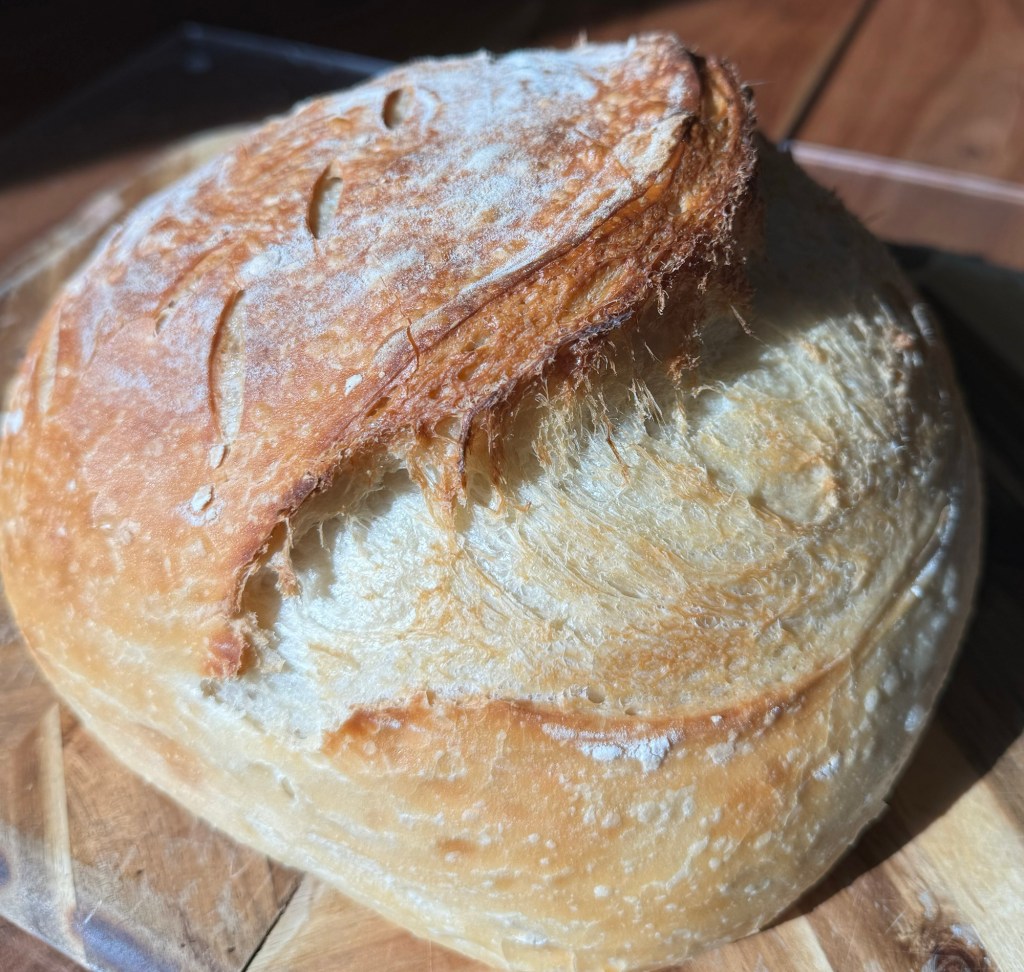
If sourdough has ever felt intimidating, this post is for you. I’ve been wanting to share this recipe for a while, through a little trial and error I think I’ve perfected this one! Prior to starting sourdough I never considered myself a baker. It felt way too exact for me, I’m definitely more type B in the kitchen. I’ve learned sourdough can actually be very forgiving and does not need to be this exact science. You can work with your schedule and I’ll show you the method I use in my own kitchen to make a classic artisan sourdough loaf. It’s crispy on the outside, with a soft and chewy center. There’s no scale (though if using a scale is your thing, I’ll include measurements), no complicated math, and no pressure to be perfect.

I’ll walk you through the process step by step, explaining what the dough should look and feel like along the way. Then at the end, you’ll find a quick reference recipe you can come back to once you’ve baked a few loaves. This method works whether you keep your starter on the counter or in the fridge, and it’s flexible enough for real life. Keep in mind that sourdough is pretty temperature/environment dependent so everything I’m sharing here works for me in central Texas (my house is typically around 72°F).
*this post contains affiliate links- in which I may earn a small commission at no additional cost to you-thanks for your support*
Two Starter Techniques
Counter Technique
If you keep your starter on the counter:
Feed it daily following the Day 2 feeding instructions below. You can start your dough as soon as your starter is active and reliably doubling.
Fridge Technique
If you keep your starter in the fridge:
Feed it once a week. If you’re going on vacation, your starter can usually go up to 2 weeks without a feeding.
Feeding Your Starter
Day 1 (Evening)
Remove your starter from the fridge and leave it on the counter overnight.
*you can remove your starter from the fridge the day you want to make your bread just remember after feeding it may take a couple extra hours to rise compared to a counter starter
Day 2 (Morning)
Discard ¼ cup of starter (up to ½ cup if you have a large amount). Discard can be saved in a sealed jar in the fridge for 1–2 weeks for crackers, pancakes, English muffins, etc. Feed your starter: ¼ cup lukewarm filtered water (can be either room temperature water or warmed for in the microwave for about 10 seconds) and ½ cup of all purpose flour. Mix well.
*this is the what I feed my starter because of the higher ratio of flour is has a pretty thick consistency. This is what I prefer but if you have a different preference for your feeding ratio, stick to what works for you. At the peak rise you just need 1 cup of active starter to work with.
Let sit for 3–4 hours, or until it reaches peak rise. At peak, the starter looks domed on top and full of bubbles. It should have at least doubled. This is the timing for me in the south, depending on where you are (temps play a big role) it can take up to 12 hours to reach peak. So adjust your bakers schedule accordingly.
Tip: When on the counter, cover with a loose lid (not screwed on or clamped down) or clean dish towel. In the fridge, keep the lid tightly sealed.
When Is Starter Ready to Bake With?
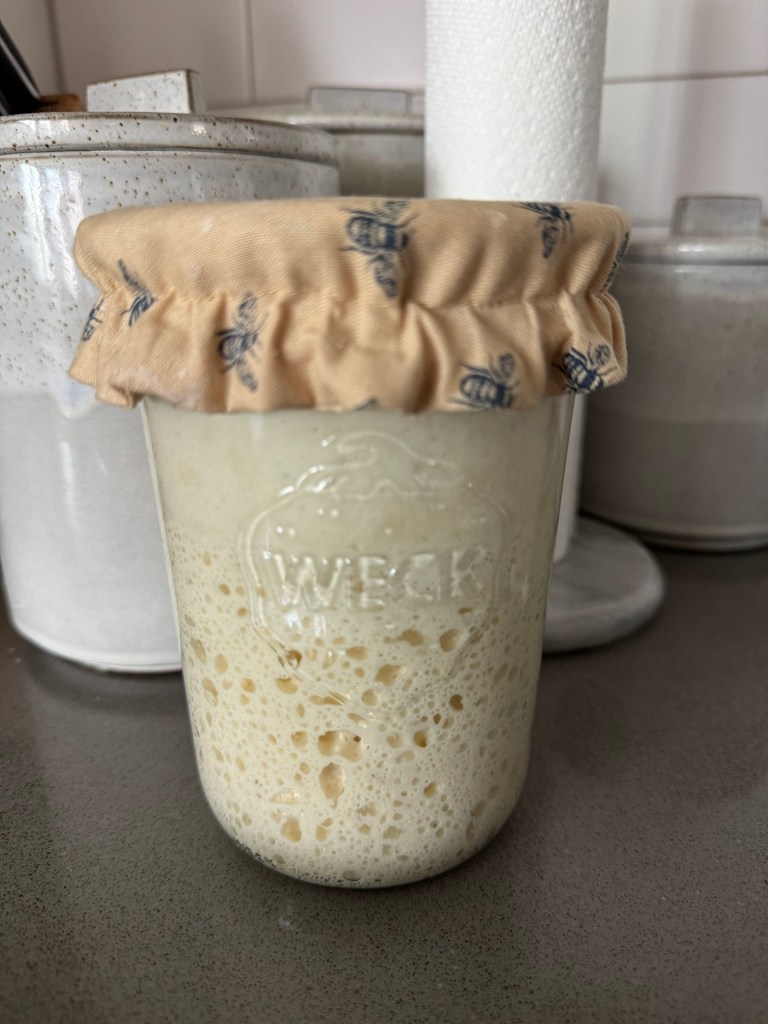
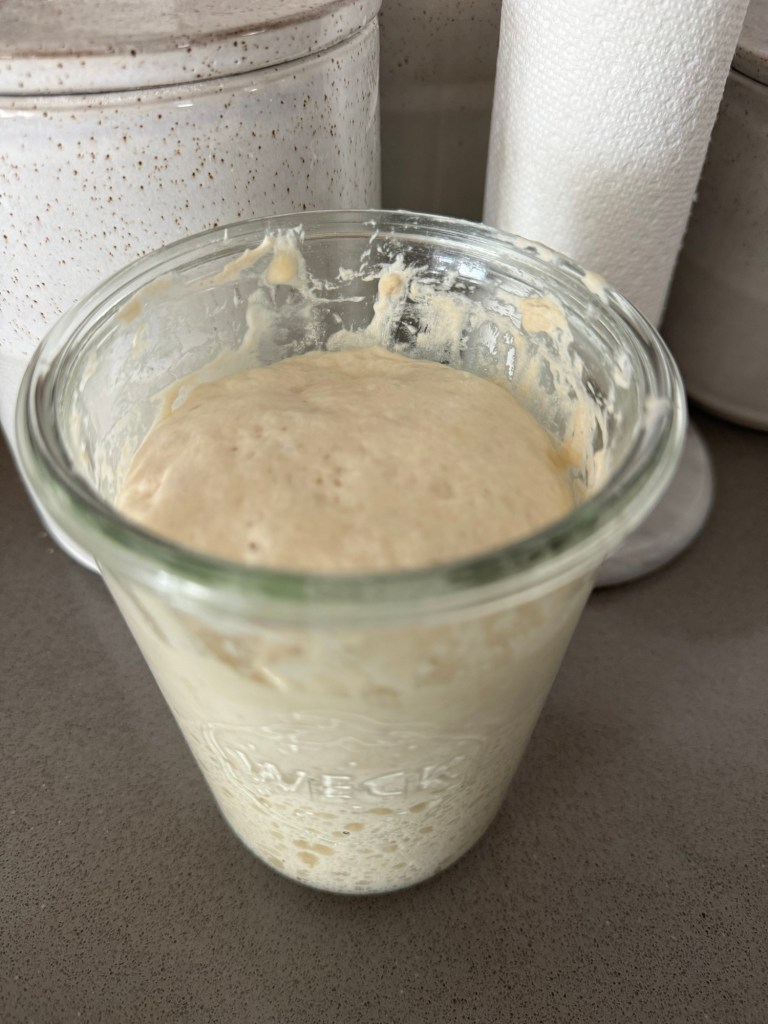
Use your starter at peak rise and has at least doubled. Active starter should look bubbly and airy and will often float in water.
Making the Dough
Ingredients
1 cup active sourdough starter (240 g)
1½ cups filtered, lukewarm water (360 g)
2 teaspoons fine salt (10 g)
4 cups all-purpose flour (480 g)
Mixing the Dough
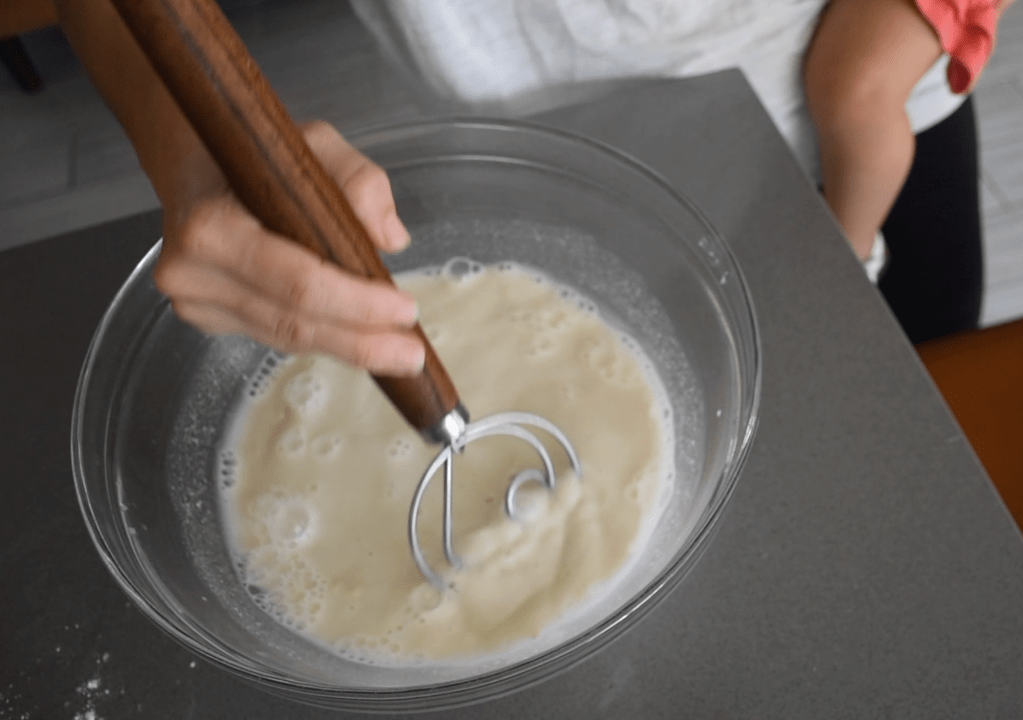
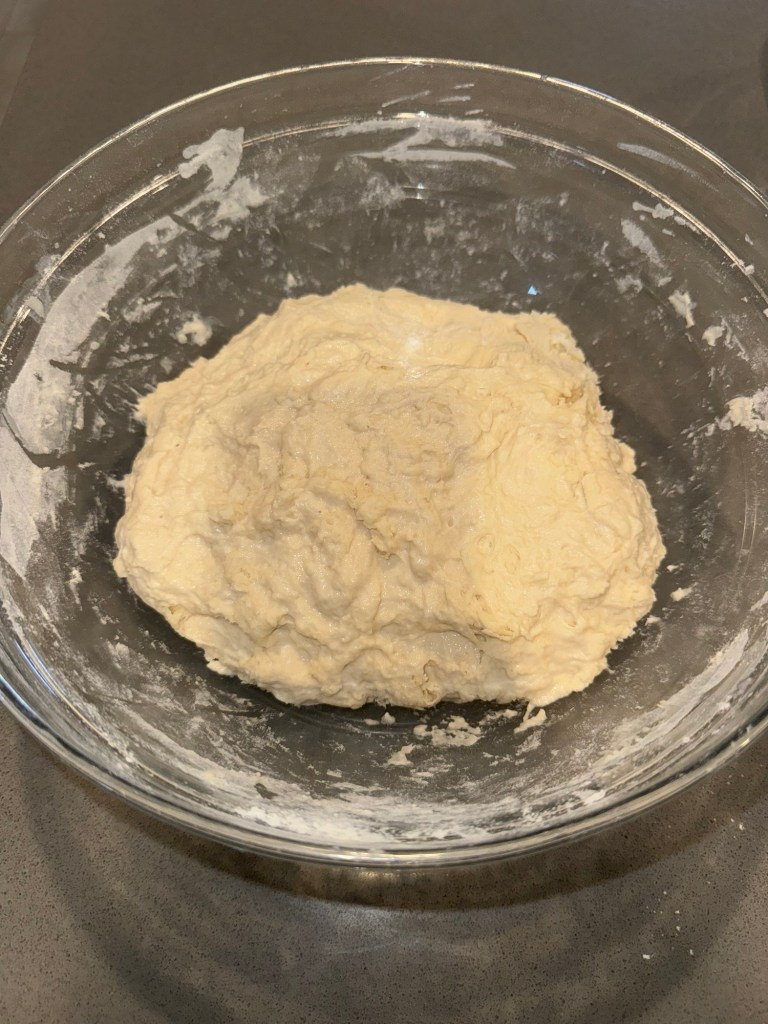
In a large bowl, mix: Starter, water and salt. I like to use my danish whisk to mix in the beginning. The mixture will start to look milky and most of the starter will start to be incorporated into the liquid (it’s okay if you have some pieces still floating). Add the flour and mix still using a danish whisk or wooden spoon. Once all the flour has been mixed in switch to mixing with your hands (wet your hands to make this easier). Dough will look shaggy and sticky (this is normal). Cover with a damp towel and rest for 1 hour.
I place my dough in the warmest part of my kitchen. For me that’s on the counter between my stove and cooktop.
Stretch & Fold Process
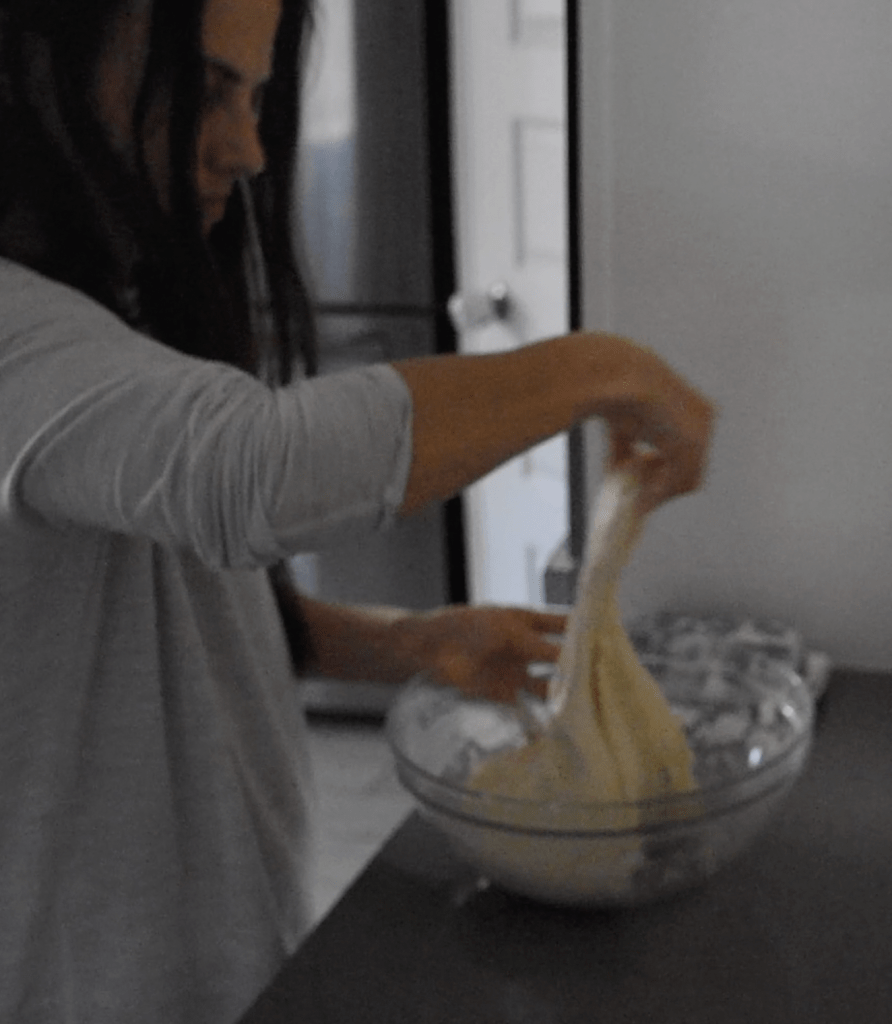

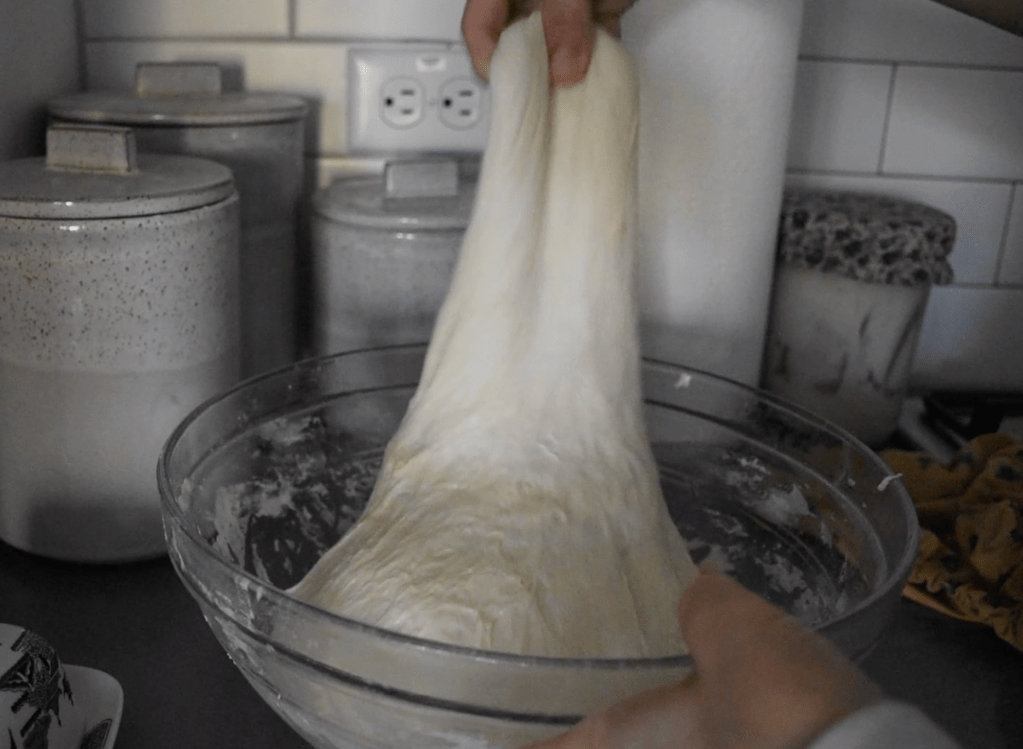
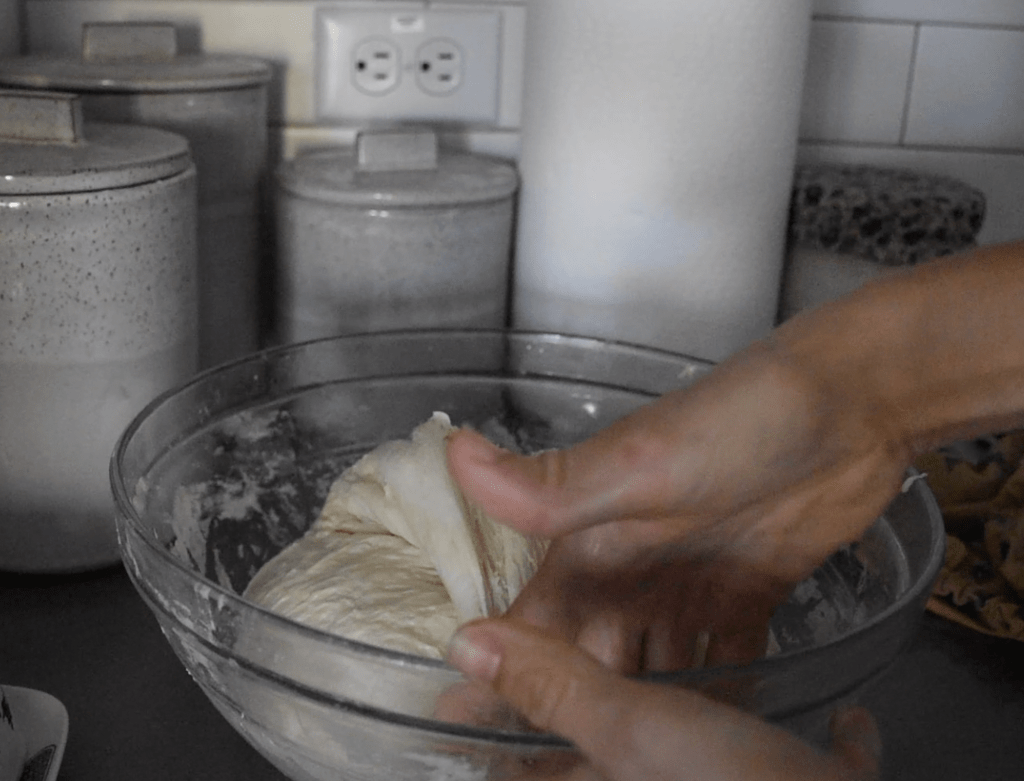
Perform 4–5 stretch-and-folds: Grab one side of the dough, stretch upward, and fold over itself. Rotate the bowl and repeat. You will do this on all four sides of the dough. Repeat this every 30 minutes until the dough feels: Smooth, elastic, less sticky and slightly shiny. For me about 4 does the trick but you may need 5 to get the desired feel.
This process strengthens the gluten naturally and allows for a better rise and texture. The sticky dough becomes easier to handle by creating a strong, elastic network without vigorous kneading, resulting in an open crumb and good oven spring.
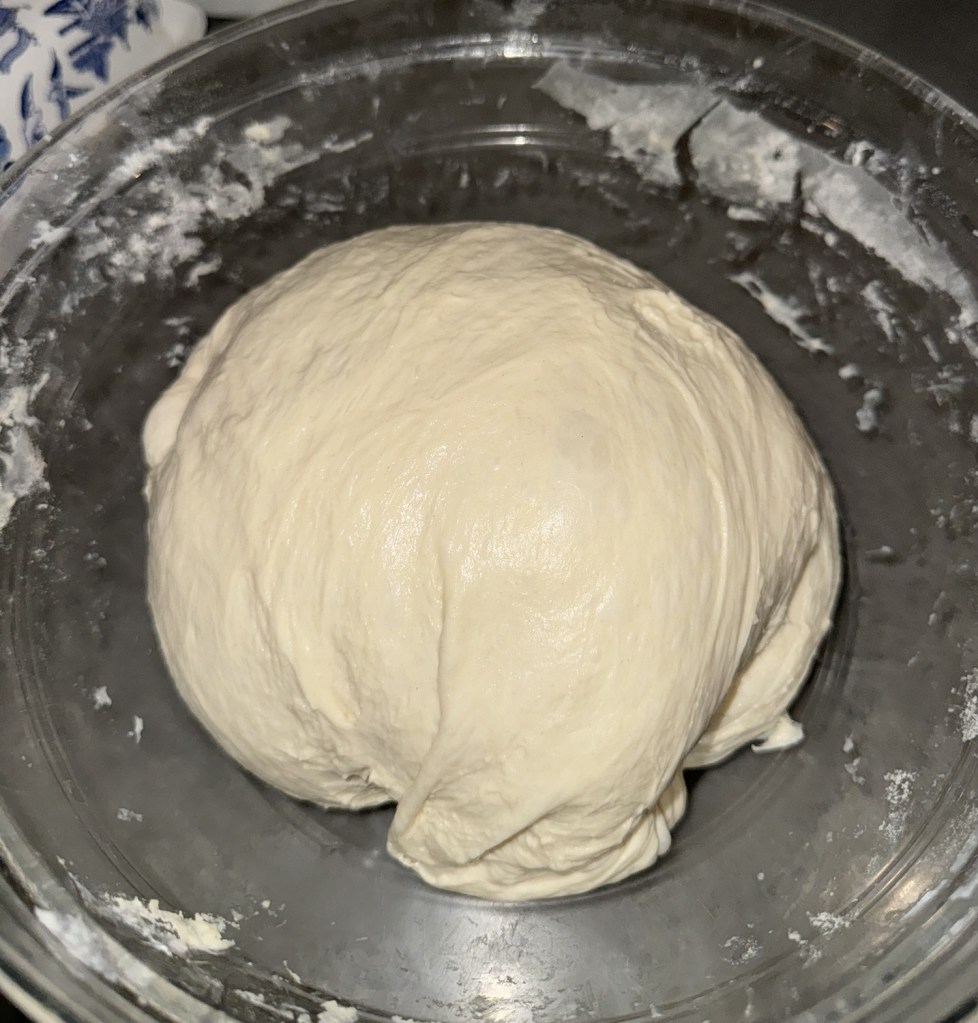
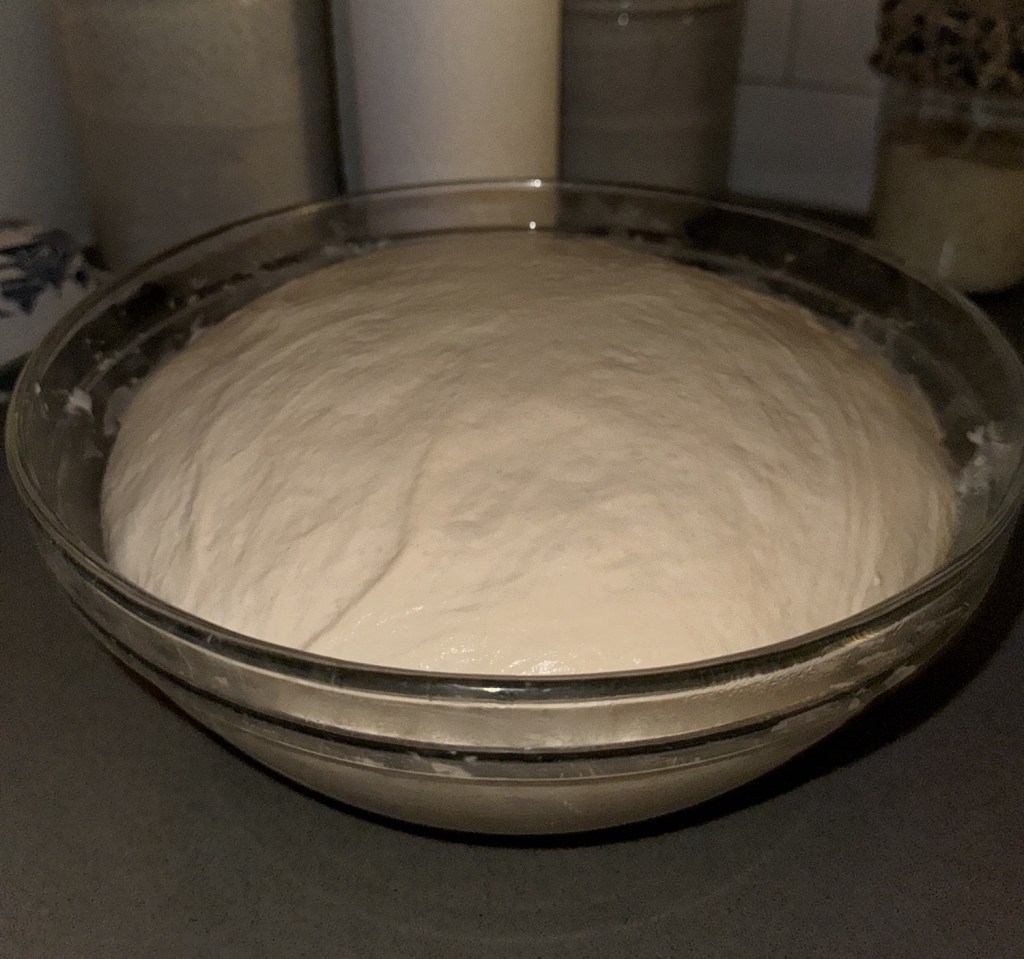
Bulk Fermentation
After the final stretch and fold, cover the dough with a damp towel (may need to rewet). Let ferment at room temperature for about 4 hours, until roughly almost doubled.
Optional: If you need flexibility (kids, bedtime, life), you can refrigerate the dough for 30–60 minutes to slow fermentation before shaping.
Shaping the Dough

Lightly flour your work surface and turn out the dough. Gently press into a rectangle and dimple the surface (like focaccia). Fold the dough into thirds. Roll from one side to create your dough ball.

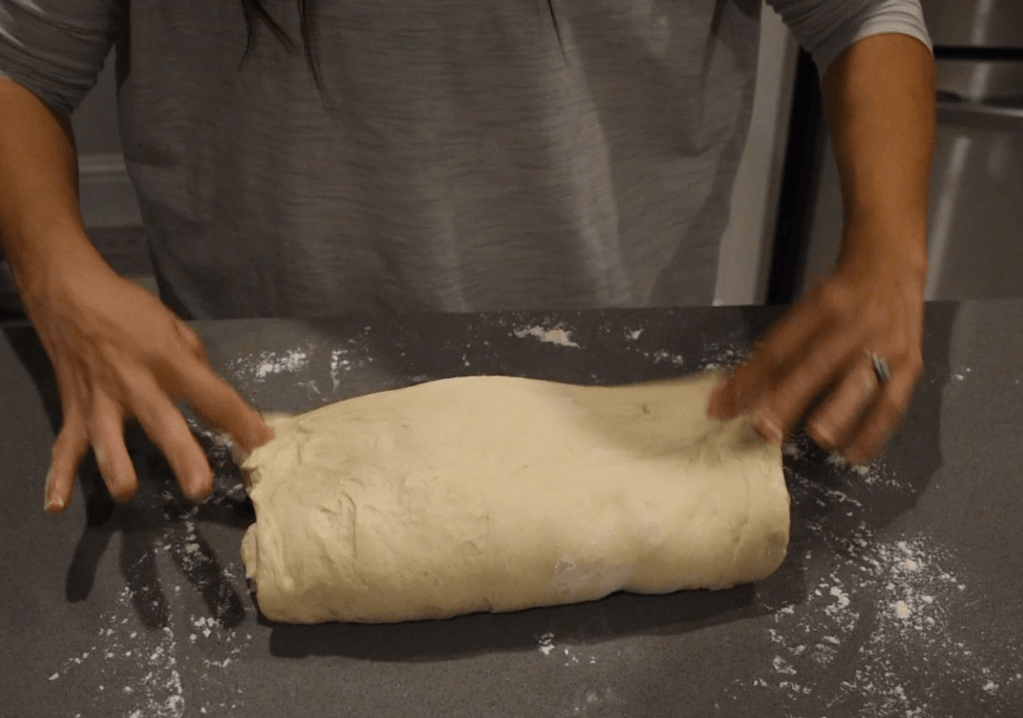
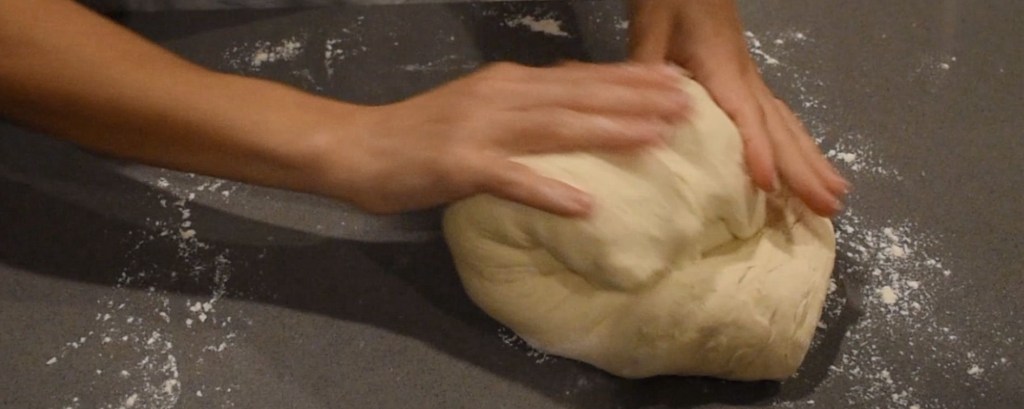
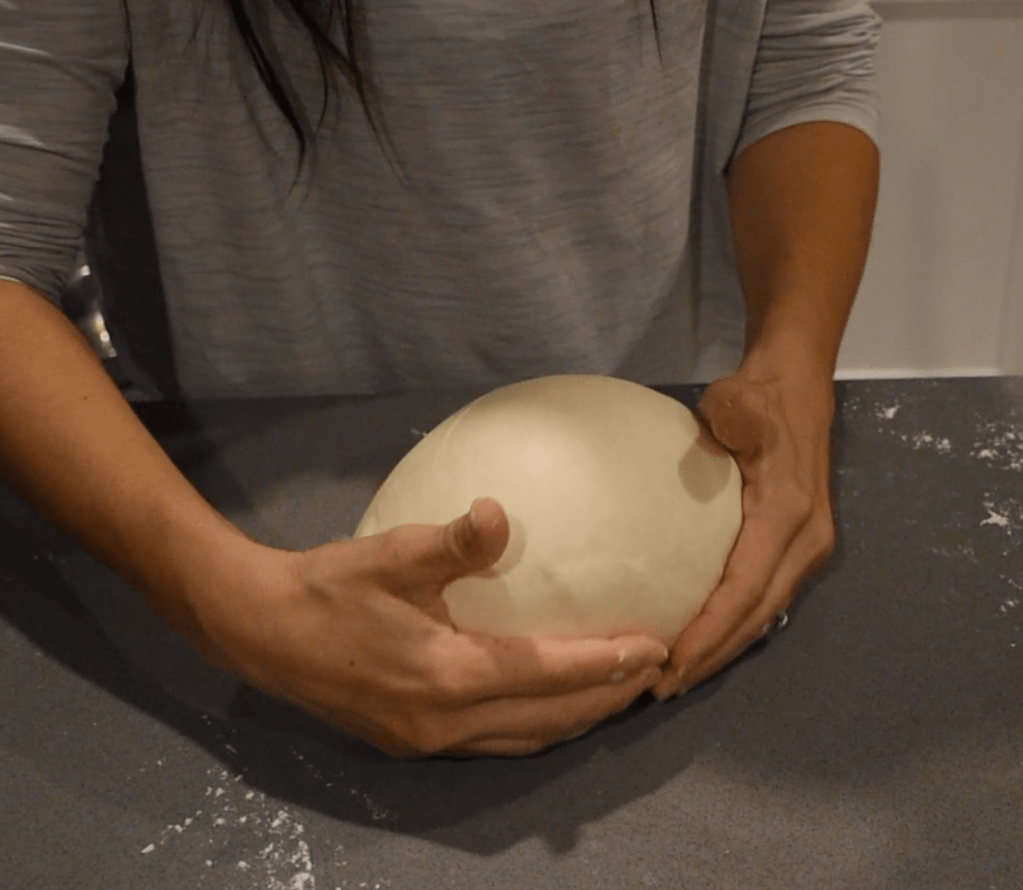
From here roll and tighten the dough by pushing it away from you, then pulling it back toward you to create surface tension. Shape into a smooth round shape.
Cold Proof (Final Rise)

Lightly flour the top of the dough. Generously flour your banneton. Place the dough upside down (smooth side down) in the banneton. Cover tightly with plastic wrap (elastic version) or beeswax. Refrigerate for 12–24 hours.
Baking the Bread
Preheat oven to 450°F with the Dutch oven inside. Remove dough from fridge and place (turn the banneton upside down) onto parchment paper or a silicone sheet. Once the oven is preheated score the dough with a bread lame.

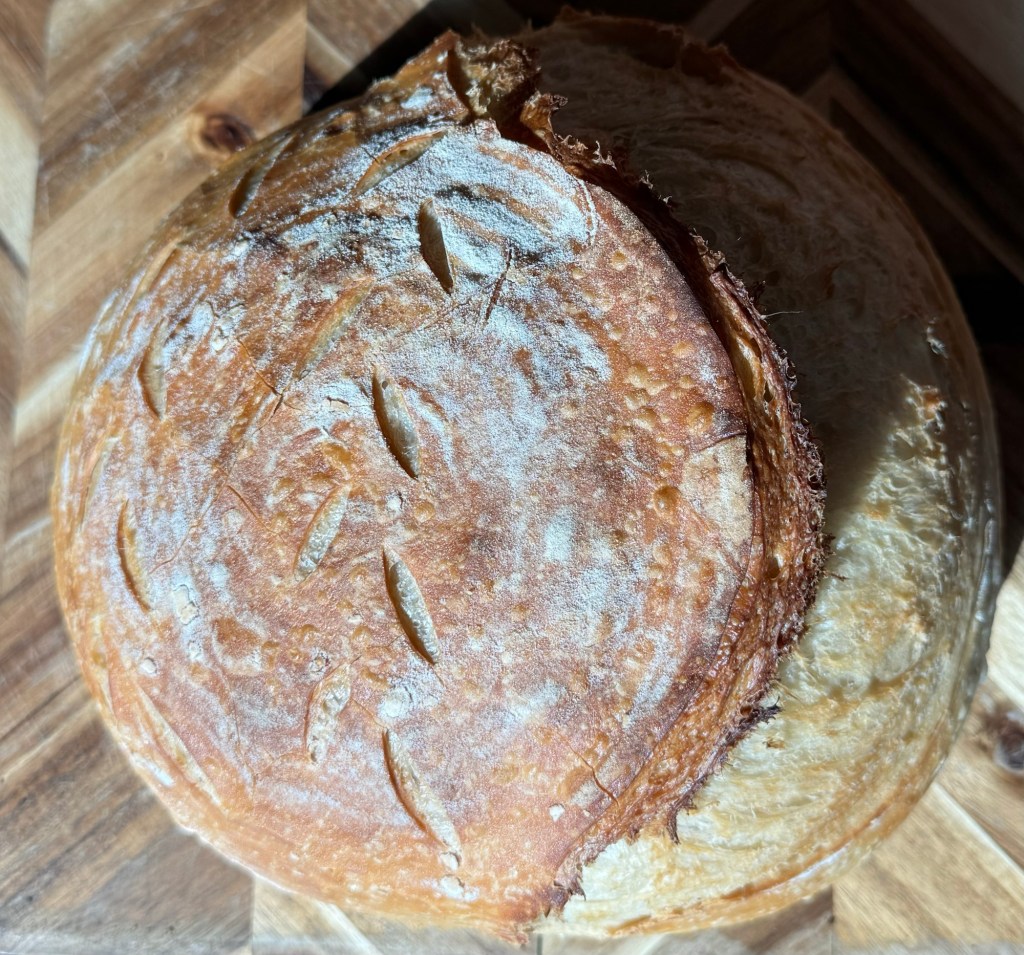
To score sourdough with a lame, it’s easier to use cold dough. Some more tricks are using a super sharp blade, and makingquick, confident cuts. I recommend one larger score to help create the ear. You want this line to be about 1/2 inch and this guides the expansion, instead of the bread splitting uneven on its own. I also like to do shallow decorative cuts as well (I love doing leaf like patterns). Once the dough is scored I recommend moving it to the oven relatively quickly.
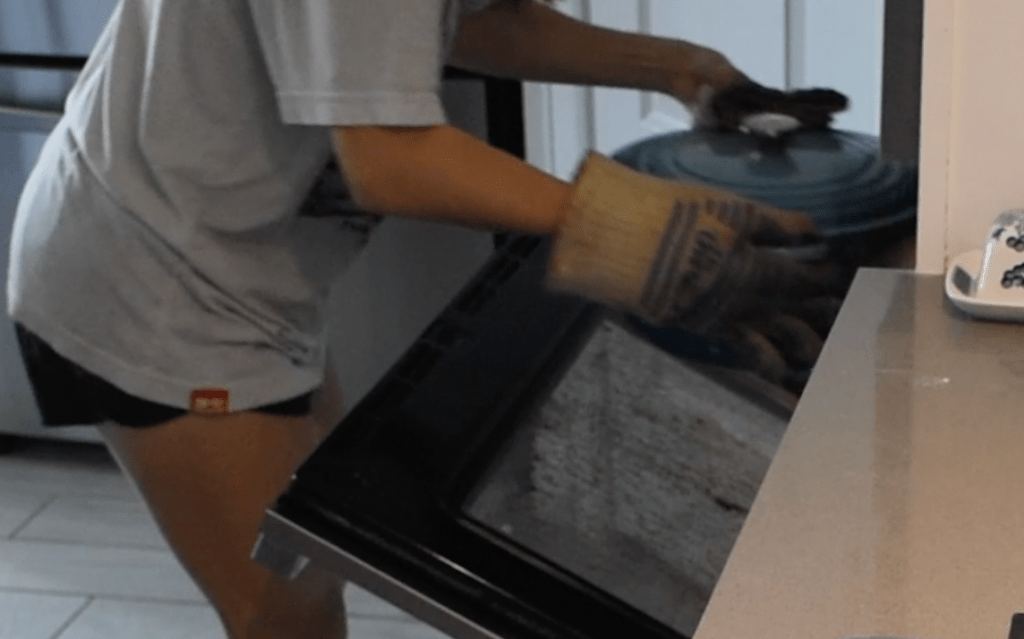
Carefully remove hot Dutch oven, add 2-3 ice cubes to the bottom, then place parchment paper with dough inside.
Helpful hint: Place an empty sheet pan on the rack below the Dutch oven to prevent the bottom from burning. Another option is to put died rice in your Dutch over and place the parchment paper and dough on top of the rice. This again helps with burning because the rice will burn before the bottom of your bread will.
Bake at 450°F for 20 minutes, lid on Reduce to 425°F, remove lid, bake 20 more minutes, or until golden brown. This works for most ovens but you may have to adjust timing slightly based on your oven. For example my sweet spot with my oven (my oven is weird so keep that in mind) is 30 min at 450°F (lid on) and 5 min at 425°F (lid off).
Remove bread and cool for at least 1 hour on a cooling rack before slicing to avoid gumminess.
Storage
Store in a beeswax bag or sealed plastic bag. Best enjoyed within a few days. I find since my bread doesn’t have any preservatives it goes bad within 1 week or 7 days.
Example Baker’s Schedule
This is just a guide: adjust to your life and how your dough is looking!
8:00am – Feed starter
12:00pm – Starter at peak
12:30pm – Finish mixing dough
1:30pm – 1st stretch & fold
2:00pm – 2nd stretch & fold
2:30pm – 3rd stretch & fold
3:00pm – 4th stretch & fold
7:00pm – Bulk fermentation complete
7:30pm – Shape and refrigerate
9:00am – (Next morning) Bake
If I bake at 9am my bread is typically cooled and ready to cut into for lunch that day!
Plan for roughly 12 hours from feeding your starter to shaping your dough that first day.
Quick Reference Artisan Sourdough Recipe
Ingredients
1 cup active starter (240 g)
1½ cups lukewarm filtered water (360 g)
2 tsp fine salt (10 g)
4 cups all-purpose flour (480 g)
Method
Mix starter, water, and salt. Add flour and mix until shaggy.
Rest 1 hour.
Stretch & fold every 30 min (4–5 times).
Bulk ferment on counter for roughly 4 hours.
Shape, place in banneton and refrigerate 12–24 hours.
Bake at 450°F (20 min lid on), then 425°F (20 min lid off). Cool at least 1 hour before slicing.


Leave a comment