Homemade Sourdough Cinnamon Cereal (From-Scratch Crunch Without the Junk)
May 13, 2026
This recipe started as a challenge. My husband told me he loves all the from-scratch cooking I do around here, but he really, really misses cereal. I took that personally. Not in a bad way but in a "hold my coffee, I will absolutely make a homemade cereal that's better than the box" kind of way.
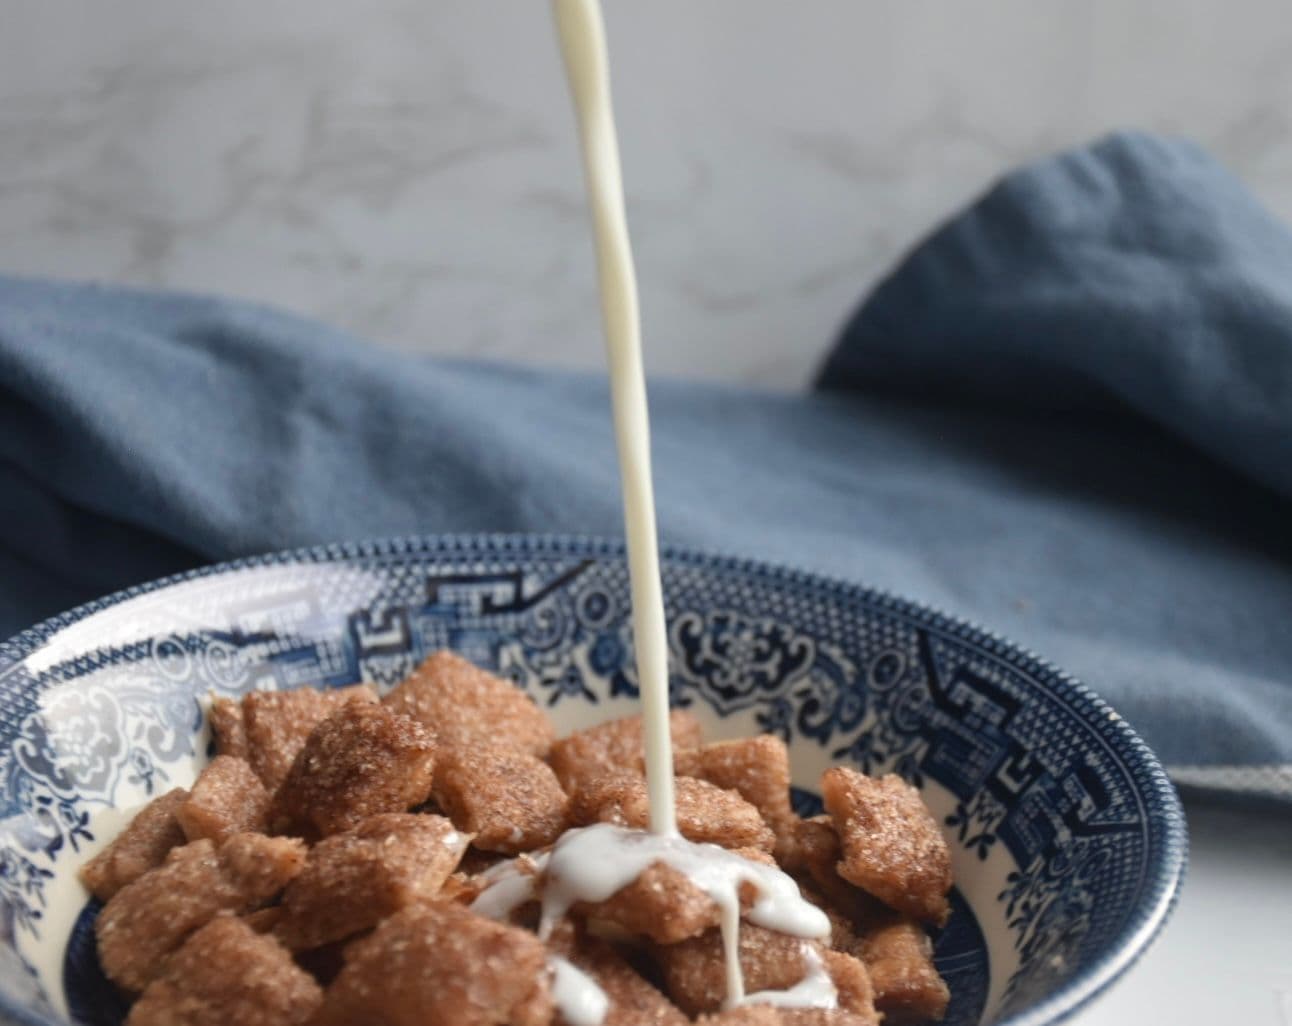
This is my first take and it's basically a sourdough version of cinnamon toast cereal. Buttery, flaky little squares brushed in butter and showered in cinnamon sugar, baked until crunchy, broken apart, and poured into a bowl with cold milk. The kids are obsessed. My husband ate it standing at the counter before I could even photograph it. Mission accomplished.

The sourdough discard does a few things here. It adds a quiet tang that cuts through the sugar so it doesn't taste flat the way some boxed cereals do, it gives you a really tender crumb in those flaky little squares, and if you do the long ferment it actually breaks down some of the flour for you. Either way, this is nine real ingredients. Things you already have. Nothing you can't pronounce. I'm not going to call it healthy because there's still butter and sugar in here but I will call it a whole lot better than what comes in a box.
This post contains affiliate links, in which I may earn a small commission at no additional cost to you. Thanks for your support!
Why You'll Love This

- Only 9 real ingredients. Things you can pronounce. Things you already have in your pantry.
- A genius use for sourdough discard. No more throwing it on baking off-days.
- Choose your own ferment. Bake same-day if you're impatient, or do the long overnight ferment for full sourdough flavor and easier digestion.
- Stays crunchy all week. Tuck it in a mason jar and grab a bowl whenever with no soggy cereal regret.
- Kid-tested and husband-approved. Mine fight over the last handful. Yours will too.
What You Need
For the dough:
- ¾ cup all-purpose flour (90g)
- ¼ cup whole wheat flour (30g) (or sub additional all-purpose if you don't have wheat)
- 1 tablespoon organic cane sugar (12g)
- 1 teaspoon cinnamon (3g)
- ½ teaspoon salt (3g)
- 8 tablespoons cold unsalted butter, 1 stick (113g)
- ½ cup sourdough discard or active starter (120g)
- ¼ cup ice-cold water (60g)
- 1 teaspoon vanilla (4g)
For the cinnamon-sugar topping:
- 4 tablespoons melted unsalted butter (57g)
- ½ cup organic cane sugar (100g)
- 1 tablespoon cinnamon (8g)
Heads up: this cinnamon-sugar mix makes more than one batch needs. Save the extra in a mason jar and you'll be glad you have it for the next round (and it's perfect on toast).
Equipment:
- Box grater
- Large mixing bowl
- Rolling pin
- Bench scraper, pizza cutter, or sharp knife
- Pastry brush
- Two half sheet pans (or one pan with extra parchment)
- Parchment paper
- Mason jar for storage
Step-by-Step Instructions
Step 1: Whisk the dry ingredients
In a large bowl, whisk together the all-purpose flour, wheat flour, sugar, cinnamon, and salt until evenly combined. Don't skip this whisking becuase you want that cinnamon distributed everywhere, not in pockets.
Step 2: Grate in the cold butter
Take your butter straight from the fridge (the colder the better). Cold butter is everything in this recipe. Using the large holes of a box grater, grate the entire stick of butter directly into your dry ingredients. Toss the shreds gently in the flour as you go so they don't clump.

Once it's all in there, use your fingertips to gently break the butter down into pea-sized pieces. You can also use a pastry cutter. Work fast and don't overdo it. Your hands are warm, and warm butter is the enemy of a flaky cereal square. You want to still see flecks of butter when you're done. That's where the layers come from.
Step 3: Add the wet ingredients
Pour in the sourdough discard, the ice-cold water, and the vanilla. (My trick for the water: drop a couple ice cubes in a small glass of water and let them sit for a minute before you measure. You want it really cold.) Stir with a spatula until you've got a shaggy, just-barely-coming-together dough.

Then dump it onto your counter or finish in the bowl with your hands. Press, don't knead. You're just bringing it together into a cohesive disc. The less you work it, the flakier it bakes up. Again, watch out for those warm hands.
Step 4: Choose your ferment
Here's where you get to pick your own adventure:
- Bake right away: If you're impatient or it's a Saturday morning and you want cereal now, you can roll this out the moment it comes together. Just know the dough will be sticker, and you'll need a little extra flour (and parchment paper) to handle it.
- Quick chill (1 hour): Wrap dough (make a flat disk) in plastic wrap and rest in the fridge for an hour. This makes the dough easier to work with and gives you cleaner squares.
- Long ferment (12–24 hours): Wrap tightly in that saem disk and tuck it in the fridge overnight or up to 24 hours. You get the full benefits of the sourdough which is better flavor, better digestion, and a dough that rolls out like a dream.
Step 5: Roll it out
Preheat your oven to 350°F.
Cut your dough in half. Cut two pieces of parchment paper the size of your sheet pans. Place one half of the dough on a piece of parchment.


If your dough is fresh and sticky, dust it with a little flour and lay another sheet of parchment on top, this lets you roll without sticking. If your dough is cold and rested, you can usually get away with just a light dusting of flour.
Roll the dough out to about ⅛ inch thick. Try to keep it roughly the shape of your pan. Honestly, the thinner you roll it, the crunchier the cereal but ⅛ inch is the sweet spot for me. You get serious crunch and still get those nice flaky layers.
Repeat with the second half on the second piece of parchment.
Step 6: Cut your squares

Using a bench scraper, pizza cutter, or sharp knife, cut the dough into ½-inch squares right on the parchment. You don't need to separate the pieces, as long as your cuts go all the way through, they'll break apart on their own as they bake. Anything that doesn't fully separate is easy to snap apart once it's cool.
Step 7: Butter and sprinkle
Slide each piece of parchment onto a sheet pan. (If you only have one pan, you can bake them one at a time, the second sheet of parchment just waits its turn on the counter.)


Brush the cut dough generously with the melted butter, roughly 2 tablespoons per pan. Then mix your cinnamon and cane sugar in a small bowl and sprinkle it generously over the buttered dough. You want full coverage. Don't be shy. The butter is what helps the cinnamon sugar bake into that toasty, crackly crust.
Step 8: Bake
Bake at 350°F for 15–20 minutes, until the squares are deeply golden and the edges are starting to crisp up. Every oven is different, so start checking around 15. If your edges are coloring fast but the middle is still pale, rotate the pan halfway through.

Step 9: Cool completely, then break apart
This is the hardest step because your kitchen is going to smell unreal. Let the cereal cool fully on the pan. As it cools, it crisps. If you taste a piece while it's warm and it seems a little soft in the middle, that's normal, just give it ten minutes.
Once cool, break the squares apart along the cut lines. Pour into a bowl, add cold milk, and try not to be smug about how good it is.
Storage Tips

Pantry: Once fully cooled, transfer the cereal to an airtight container or my preferred move is a mason jar. It'll stay crunchy on the counter or in the pantry for about a week.
Make-ahead: If you went with the 12–24 hour ferment, you can keep that dough in the fridge until you're ready to roll. It's actually easier to work with the longer it rests.
Freezer: I haven't tried freezing the baked cereal because it doesn't last long enough in our house, but the unbaked dough freezes well. Wrap tightly, freeze up to 3 months, and thaw in the fridge overnight before rolling.
Troubleshooting Tips

My dough is too sticky to roll. It's probably too warm. Wrap it up and pop it in the fridge for 20–30 minutes, then try again. Cold dough is happy dough.
My dough is cracking and crumbly. It's either too cold or a little too dry. Let it sit at room temp for 5–10 minutes to soften, or sprinkle a teaspoon of cold water over it and gently press it back together.
My cereal is still soft after baking. Either the dough was rolled too thick or the bake wasn't long enough. Pop it back in the oven for another 3–5 minutes and let it cool fully before judging, the crunch sets up as it cools.
The bottoms got too dark before the tops crisped. Your oven runs hot or your pan is too dark. Drop the temp to 325°F and bake a few minutes longer next time.
Final Thoughts
Look, I'm not anti-cereal. But I am anti the 30-ingredient list on the back of the box, and I'm absolutely the kind of person who will accept "I miss cereal" as a personal challenge. This one is going in the regular rotation. My kids ask for it by name now. My husband, who started this whole thing, has officially admitted defeat. Worth it.
If you make this, please tag me. I want to see your jars and your milk-soaked bowls and your kids' very serious cereal faces. Genuinely the best part of doing this.
Recipe: Homemade Sourdough Cinnamon Cereal (From-Scratch Crunch Without the Junk)

Prep
25 minutes (plus optional ferment)
Cook
15-20 minutes
Servings
4
Adjust Servings
Ingredients
For the dough
For the topping
0 of 12 ingredients checked
Instructions
- 1Whisk together flours, sugar, cinnamon, and salt.
- 2Grate cold butter into dry ingredients on the large holes of a box grater. Work into pea-sized pieces with fingertips.
- 3Add discard, ice water, and vanilla. Mix until shaggy, then press together by hand. Do not overwork.
- 4Bake immediately, rest 1 hour in the fridge for easier handling, OR ferment 12–24 hours for full sourdough flavor.
- 5Preheat oven to 350°F. Cut dough in half. Roll each half on parchment to ⅛ inch thick.
- 6Cut into ½-inch squares with a bench scraper. Transfer parchment to sheet pans.
- 7Brush with melted butter and sprinkle generously with cinnamon-sugar mixture.
- 8Bake 15–20 minutes until deep golden. Cool completely on the pan before breaking apart.
- 9Store in an airtight container or mason jar at room temp for up to 1 week.
Made this recipe?
I'd love to know how it turned out! Your rating helps other mamas find the best recipes.
Rate & ReviewRate & Review This Recipe
Be the first to rate this recipe!
Enjoying this post?
Get more from-scratch recipes and kitchen tips delivered to your inbox weekly. Join 35,000+ families already following along!