How to Make a Sourdough Starter (Simple, no scale)
November 19, 2025
There’s something magical about creating your own sourdough starter. For me this felt like the beginning of my homestead journey. This simple mixture of flour and water that turns into a living, breathing kitchen staple. When I first began baking sourdough, I was intimidated by all the overly complicated guides out there. Well I’m here to let you know, it doesn’t have to be complicated.

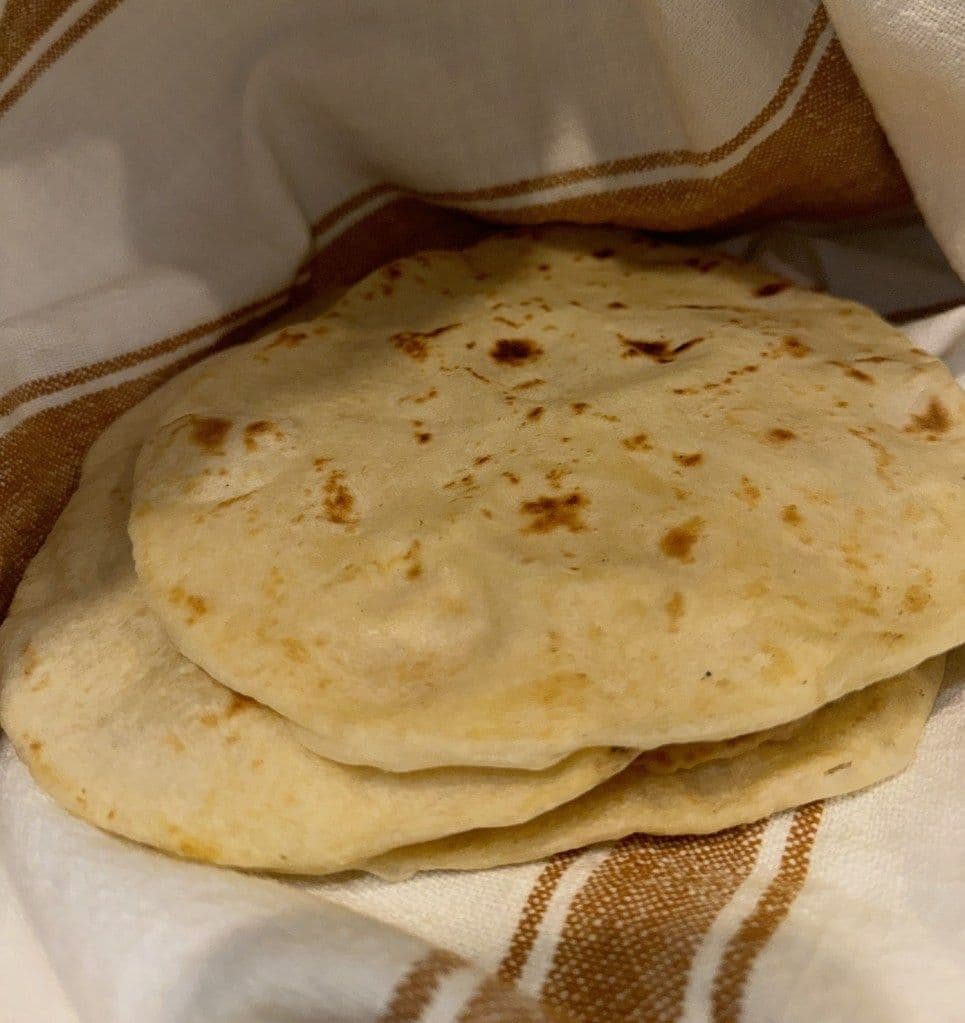
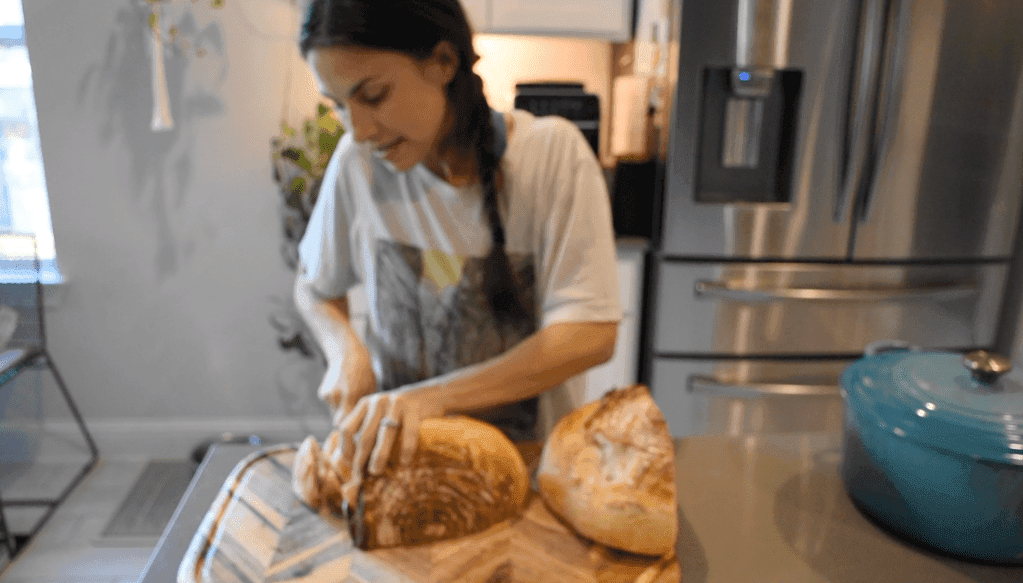
This is the exact step by step method I use and recommend if you’re ready to bake your own homemade sourdough bread. It’s simple, no scale needed, and only takes 9 days to build a strong, bubbly starter.
Let's get your starter going!
this post contains affiliate links—in which I may earn a small commission at no additional cost to you—thanks for your support
What You Need
- Wheat flour (for day 0)
- All-purpose flour (for days 1–8) — I recommend organic and unbleached
- Filtered water
- A clean jar (at least 16 oz) — I recommend having 2 because as your starter rises and falls the jar will get a little crusty so you will want to switch it out to the clean jar
- Small spatula or skinny spurtle
- Measuring cups
- A loose lid or cloth to cover
The Daily Breakdown
Day 0: Create Your Starter

Today you’re simply mixing life into existence.
In a clean jar, combine:
½ cup wheat flour and ½ cup filtered water
Stir until no dry spots remain. The mixture should be thick but stirrable, almost like pancake batter. Cover loosely with your dish towel and leave it on your counter. Pick the warmest spot in your kitchen. For me this is on my counter in between my stove and oven.
Days 1–2: Feed the Baby Starter

Your starter may look quiet these first couple of days, that’s normal.
Each day, add:
½ cup all-purpose flour ¼ cup filtered water
Mix, cover loosely, let rest at room temperature.
No discarding yet!
If you notice a water on the top, that is just your starters way of saying it’s hungry. Stir it in and feed like normal.
Days 3–8: Strengthen & Build

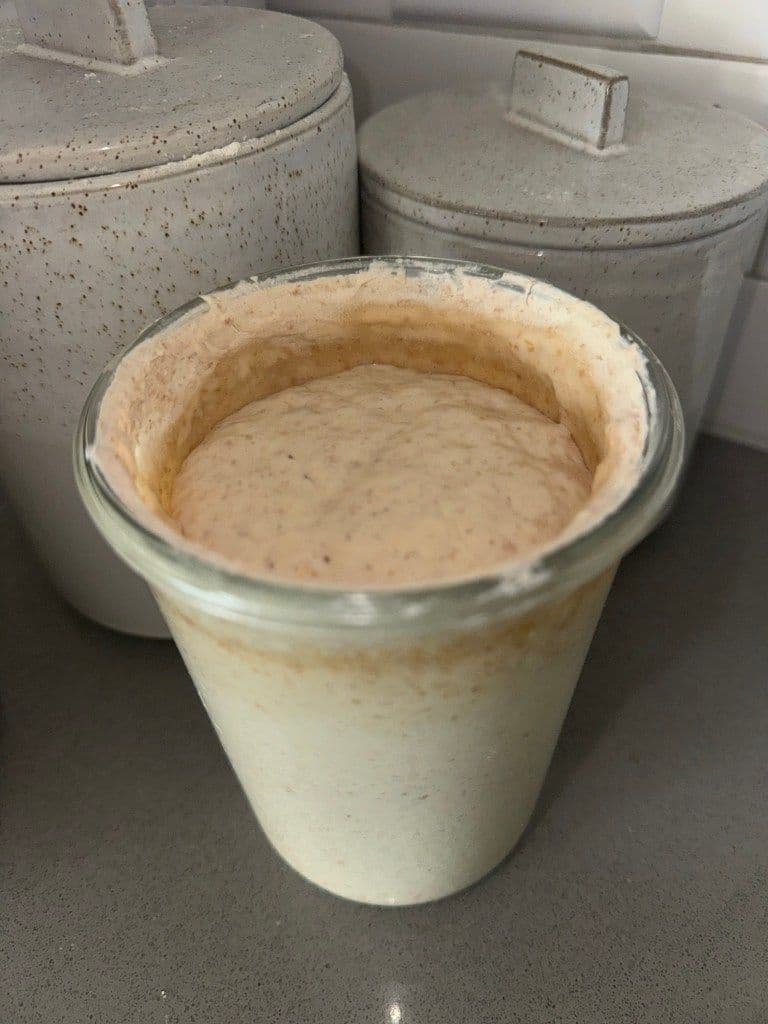
Now the magic really starts. Your starter will begin to rise and fall, bubble, and smell slightly tangy towards the end.
Each day:
Discard about half of the starter. Throw this away (it is not mature enough to bake with yet)
Add: ½ cup all-purpose flour ¼ cup filtered water
Mix well. By day 6–8, you should see predictable rising and falling cycles.
Day 8: Your Starter Is Ready to Bake!

By the eighth day, your sourdough starter should:
Double in size within 4–6 hours of feeding, this can take up to 12 hours mainly depending on temperature (think longer for colder areas).
Smell pleasantly tangy and look bubbly and airy
The float test: active starter should float in water so put a little bit in some water and see if it floats
If it checks those boxes, it’s time to bake your first loaf!
If it’s still sluggish, don’t panic, keep feeding daily until it becomes strong and active.

Troubleshooting Tips
My starter isn't bubbling.
Totally normal in the first few days.
Try:
Moving to a warmer spot (70–75°F is ideal). Making sure you’re using filtered water (chlorine can slow fermentation).
It smells weird.
A slight tang or even a little funk is normal early on. This should get better by the end.
If you see pink, orange, or fuzzy mold then toss and restart.
It's too thick or too runny.
You’re aiming for pancake batter.
Add a splash of water if it’s too thick. Add a spoonful of flour if too runny.
This doesn’t have to be exact, your starter will forgive you.
There's liquid on top (hooch).
This is just your starter saying, “Hey, I’m hungry!”
Stir it in and feed as normal.
It rises but doesn't double.
Give it another few days of consistent discarding and feeding.
Starters build strength just like muscles, repetition matters.
You can also try doing some 12 hrs feeds instead of 24 hour feeds.
How to Care for Your Finished Starter
Once your starter is mature, you have two options:
Bake Often
Keep it on the counter and feed daily. You can do that same ratio of ½ cup all-purpose flour ¼ cup filtered water.
Bake Occasionally
Store it in the fridge and feed once weekly. It can go up to 2 weeks without a feed in the fridge. Just remember to secure the top with a lid that either screws on or clamps in place.
Either way, your starter can last years if cared for!
Final Thoughts
Starting a sourdough starter is one of the most rewarding things you can do in your kitchen. It’s slow, grounding, and a reminder that homemade doesn’t have to be complicated. Day by day, you’re literally growing something that will feed your family and that feels like homesteading at its core.
If you start your own sourdough starter, let me know! I love seeing your baking adventures, and I’ll be sharing more sourdough guides and recipes here soon.
Recipe: How to Make a Sourdough Starter (Simple, no scale)

Prep
9 days
Ingredients
0 of 3 ingredients checked
Instructions
- 1Day 0: Mix 1/2 cup wheat flour with 1/2 cup water; cover loosely
- 2Days 1-2: Add 1/2 cup flour and 1/4 cup water daily (no discard yet)
- 3Days 3-8: Discard half, add 1/2 cup flour and 1/4 cup water daily
- 4By Day 8: Starter should double in 4-6 hours and pass float test
- 5Store on counter (feed daily) or in fridge (feed weekly)
Made this recipe?
I'd love to know how it turned out! Your rating helps other mamas find the best recipes.
Rate & ReviewRate & Review This Recipe
Be the first to rate this recipe!
Enjoying this post?
Get more from-scratch recipes and kitchen tips delivered to your inbox weekly. Join 35,000+ families already following along!